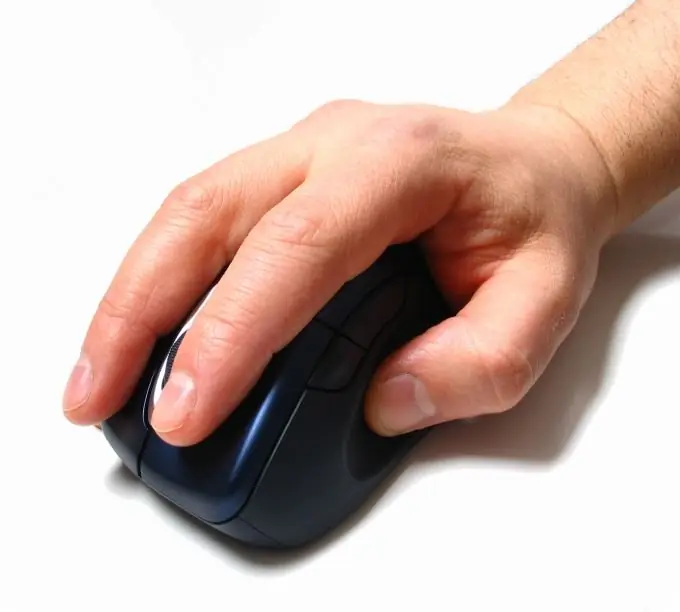
A wireless mouse is an extremely convenient device that allows you not to be tied to a computer, and, nevertheless, control it like a regular wired mouse. Wireless pointing devices from different manufacturers may differ in some way when installed and connected to a computer. However, there are a few general rules for setting up a wireless mouse quickly.

Instructions
Step 1
The set of wireless devices includes a USB adapter, a CD with drivers and, directly, the mouse itself. The first thing to do is to install the drivers into the operating system. Insert the disc from the kit into the drive; if autorun has started, the drivers will be installed on their own. If nothing happens, open the disc through Explorer and look for files named “Install.exe” or “Setup.exe”. Run them.
Step 2
Plug the wireless adapter into a USB port on your computer. The system will detect a new device, search for drivers for it, and report a successful hardware installation.
Step 3
Take care of the mouse batteries in advance if they are not included in the package. After the system detects the USB adapter, insert the batteries into the mouse. This is usually sufficient for installing and defining a wireless mouse. Less often, you may need to restart your computer.
Step 4
Some device models are equipped with additional buttons for adapting and configuring the adapter and the mouse for signals from each other. If your devices have such switches, click them. On some models of wireless devices, you may need to hold down these buttons for a few seconds. Whether you need to do this for your wireless mouse, or configure the adapter and mouse signals in a different way, you should read the user manual.


