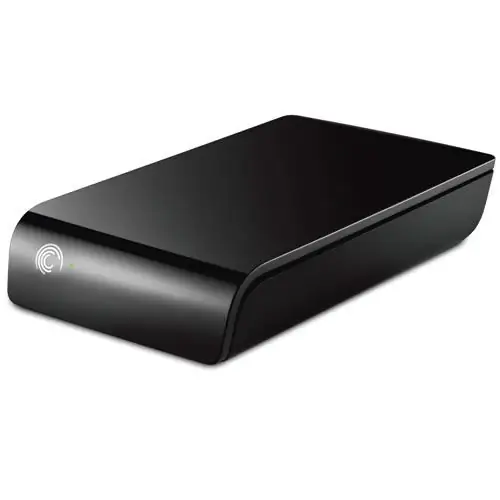
If you do not have enough memory of the hard drives that are already installed on the computer, the problem, of course, can be solved by installing additional hard drives. But not every user wants to open the lid of the system unit and install the hard drive into the bay. In addition, if the computer is under warranty, the system unit can be sealed altogether. And to install an additional hard drive, you need to contact the computer salon where you purchased the PC. There is another way out of the situation, namely the purchase of an external hard drive.

Necessary
Windows computer, external hard drive
Instructions
Step 1
The procedure for installing an external hard drive is much easier and faster compared to installing a hard drive in a bay in the system unit. You need to connect external hard drives, depending on the hard drive interface. Most external hard drives connect to a USB port, but there are some that connect to an external Serial ATA interface.
Step 2
Turn on the computer first, then the portable hard disk drive. Wait until the hard drive light starts blinking. Then connect the hard drive to the desired interface on the motherboard. An external Serial ATA interface is located on the rear panel of the system unit. Then wait until the system detects a new connected device. After detecting a device, the operating system will automatically install drivers for it. After that, the "Device is connected and ready to work" window will appear. The portable hard drive is now on the system.
Step 3
The only problem with installing a portable hard drive may be if Windows does not automatically detect the device. In this case, you need to do it yourself. To do this, click on the "My Computer" icon with the right mouse button and select "Properties". Then select "Device Manager". A list of equipment appears. In this list, click on the topmost line with the right mouse button and select "Update hardware configuration". Then find the item "Disk drives" and click on the arrow next to it. A list of hard drives will appear, among which your portable hard drive will be.
Step 4
Click on it with the right mouse button and select the "Update drivers" command. In the window that appears, select "Automatic driver search". The operating system will install drivers for the hard drive. After installation, close the window and go to "My Computer". The removable hard drive should appear there.


