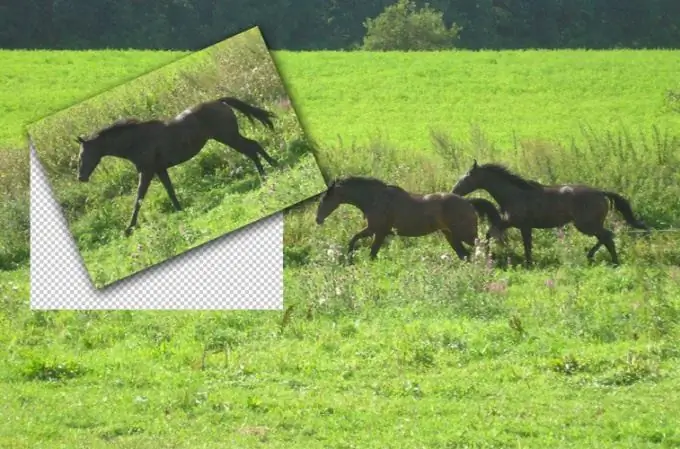
The option to save the selected frame to a file is available in many video editing programs. Cutting out a separate object from the saved image is a completely different problem. To do this, you need to use the graphics editor Photoshop.

Necessary
- - Movie Maker program;
- - VirtualDub program;
- - Photoshop program;
- - video.
Instructions
Step 1
You can use Movie Maker to save a frame from a video. Load the video into this editor using the "Import Video" option, place it on the timeline with the mouse and click on the fragment that you are going to save into a separate file. The pointer of the current frame will move to the marked frame, which will appear in the player window. To save the picture, click on the "Take a picture" button, which is located under the player window.
Step 2
In the VirtualDub editor, the process of saving a single frame is also not particularly difficult. Open the clip in the program using the Open video file option from the File menu and click on the scale with frame numbers, which is located under the player window. You can drag the pointer of the current frame to the desired location using the mouse.
Step 3
Select the frame using the Set selection start option from the Edit menu. Press the right arrow key to move to the next frame and apply the Set selection end option to it. To save the frame from which the selection begins to a separate file, use the Image sequence option from the Export group of the File menu. In the Directory to hold field, specify the location on your hard disk where the image will be saved, and select jpeg as the output format.
Step 4
If you need not just to save a separate video frame, but to cut an object from it, load the saved file into Photoshop using the Open option of the File menu. The frame saved from the video may not be sharp. If you want to fix this, duplicate the original layer with the Duplicate Layer option from the Layer menu and process the brightness channel of the copy layer with the Unsharp Mask filter.
Step 5
In order to have a separate luminance channel at your disposal, switch the picture to Lab mode using the Lab option from the Mode group of the Image menu. Open the channels palette and select the Lightness channel. Apply the Unsharp Mask option in the Sharpen group of the Filter menu to the frame that has become black and white as a result of your actions. To colorize the image, click on the Lab channel.
Step 6
Return the picture to RGB color mode and select the object that interests you. To do this, use the Extract option from the Filter menu. Contour the cutout with the Edge Highlighter tool and fill the area bounded by the selection lines with the Fill tool. By clicking on the Preview button, you will see the result of the filter.
Step 7
Turn off the visibility of the background image in the layers palette and save the cut object to a.png"


