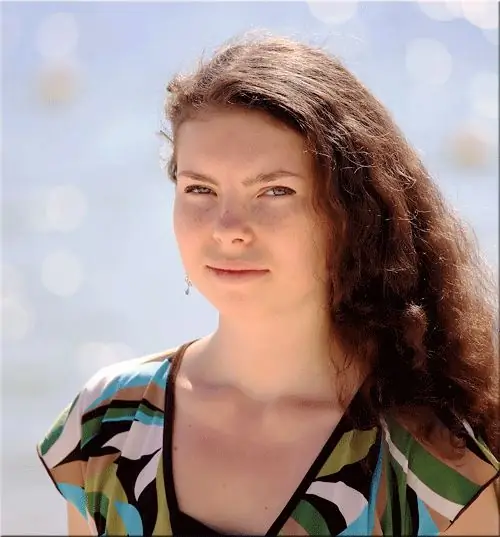
You probably have a digital camera. There are also many wonderful photographs that capture your close friends, relatives, and yourself. What prevents you from arranging a portrait gallery? If the problem is that the photos do not have an expressive background, then this can be easily corrected using graphic programs. Such as Photoshop.

Instructions
Step 1
So, you have a very interesting photo, but in the background there is a completely unnecessary landscape, an old fence, bystanders, etc. How to get rid of unnecessary details and create a new background for a portrait? You can, of course, edit the existing one. With the help of tools such as "Stamp", "Patch", "Healing Brush" get rid of unnecessary objects in the background. Then, applying various filters, blur the background, add decoration….
Step 2
However, the best result can be achieved by placing the foreground photo on a new, expressive background.
To do this, you need to cut out the silhouette in the original photo, selecting it using the most convenient tool for this. In addition to the simplest ones ("Lasso", "Quick Selection" …) use editing in the Quick Mask mode, the "Selection" filter. The appearance of the future portrait largely depends on how well the image will be highlighted. Therefore, to highlight complex elements (lush hair, highlights, fur …) use the channel method.
Step 3
To do this, duplicate the layer and go to the "Channels" tab. Determine the most contrasting channel (red, green, or blue). Add even more contrast to it with Levels. Now take a hard (100%) brush and paint the black areas with black (this will be the invisible part of the image) and the white with white. Change the size of the brush to achieve a precise selection. Paint over gray areas using Overlay blending mode. In this case, the black and white areas will not be affected, the selection will be better.
Step 4
Press "Ctrl + click" to select the marked area. Since you want to select the silhouette of the person, not the background, invert the selection. Make the color layer visible and go back to editing the image. Load the selection (Ctrl + J) on a new layer. Edit the edge of the resulting image (Layers - Edging).
Step 5
Create a new layer below the cutout human silhouette layer. Place your desired background on it. It can be a fill with a color consistent with the style, a gradient. Add effects (flare, stylization, etc.) to it. Or you can copy a beautiful landscape onto it, the drawing - the choice is yours.
Merge layers, save. The portrait is ready!


