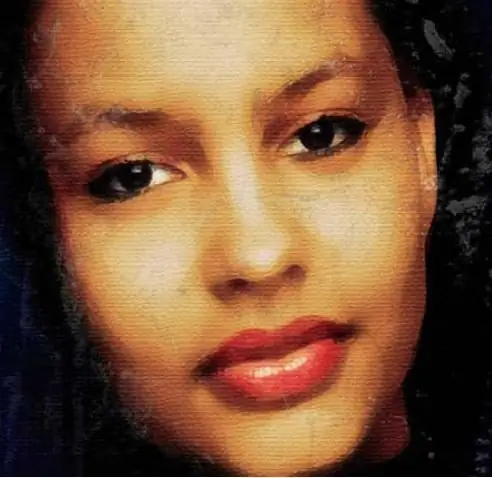
In order to make a portrait in Photoshop from a photographic image that will look like painted in oil, we will have to work a little. But the possibilities of this graphic editor are so extensive that it will not take you much time.

Instructions
Step 1
The first step is to choose a suitable image. For convenience, we will remove almost the entire background, leaving and selecting only the face.
Step 2
It is necessary to make the background more saturated. Use the Lasso Tool (L) and a 5px Feather setting. Copy the selection to a new layer by creating it and pressing the Ctrl + J keys. Activate the background layer and enable the Radial Blur function by choosing "Blur" from the "Filter" menu. We repeat this operation until the background becomes blurred.
Step 3
We know that a portrait painted with paints does not convey the texture of human skin, unlike its photographic image. In order to remove small details of the structure of the skin, use the filter "Noise" - "Dirt and scratches", adjust it until the small details disappear completely.
Step 4
Our image has become blurry, so we need to return it to the contours of the eyes and lips. The blurry layer is on top of the original image, so we will erase it along the paths using the Eraser Tool (E), choosing a brush with a small diameter and medium hardness. The opacity parameter can be set to 50%. Draw it along the contour of the eyes and lips, achieving the original sharpness.
Step 5
Experiment with filters to achieve a graphical image. Use the Watercolor filter to change the position of the sliders to achieve the desired effect.
Step 6
If you want to make a portrait of the old master's brush, with signs of aging, then use a suitable fractured texture from the texture library, emphasizing the contrast using the menu Image - Correction - Levels. Select the desired contrast by changing the position of the slider, you can also try inversion.
Step 7
Place an image on the texture layer. You can try different modes, but the most suitable for us seems to be Overlay or Soft light. Use different values of the Opacity parameter in order to soften the effect of the texture.
Step 8
To get the effect that the background of the painting was a real canvas, use the filter Texture - Texturizer - Canvas. The whole portrait in the spirit of an old painting is ready.


