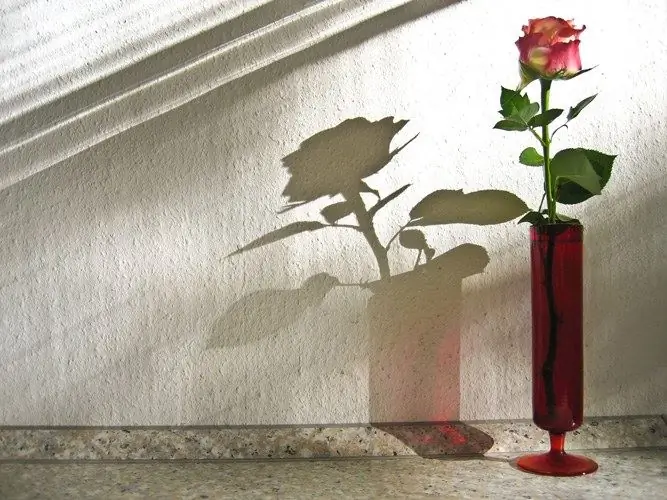
One of the necessary stages of work when creating collages is the imposition of shadows, without which the picture will look flat. A realistic shadow cast by an object can be made from a duplicate layer with an object using the transformation tools of Photoshop.

Necessary
- - Photoshop program;
- - image.
Instructions
Step 1
Load the file with the image to which you want to add shadows to the Photoshop editor using the Open option of the File menu. As a base, you will need a copy of the layer with the object cut from the background, which casts a shadow. If you are working with a multi-layered document, select the layer with the desired object and duplicate it with Ctrl + J.
Step 2
If you have a single-layer image and the shadow-casting object is not separated from the background on it, trace the outline of this object with the Lasso tool. With the Save Selection option on the Select menu, save the selection to a new channel. By default, it will be named “Alpha1”. Copy the selected item to a new layer.
Step 3
Convert the created copy of the item into a dark silhouette. If the layer has a mask that hides the background, simply fill the object with black using the Paint Bucket tool. If there is no mask on the layer, limit the area of the fill by loading the selection with the Load Selection option of the Select menu. Select Layer Transparency from the Channel list as the source of selection information. The loaded area can be filled with color.
Step 4
Change the blending mode of the preset for the shadow with the layer below it from Normal to Multiply. If necessary, blur the shadow with the Gaussian Blur option in the Blur group of the Filter menu. The blur radius depends on the brightness of the light source in the collage. To create a very bright light effect, a minimum blur radius is required, a weak source will give an unsharp shadow with highly blurred edges. If the shadow is very dark, reduce its opacity by adjusting the Opacity parameter in the layers palette.
Step 5
Use the Skew or Distort options in the Transform group of the Edit menu to deform the shadow by placing it on the surface. If there are other shadows in the collage, place the new one at the same angle.
Step 6
If the shadow you are creating falls on several different planes, select the portion of the layer that shades each surface. Use the Cut option of the Edit menu to cut the fragment and paste it on a new layer using the Paste option. Warp the shadow section for each surface and collect the processed fragments by applying the Merge Down option of the Layer menu to all layers with shadow parts.
Step 7
Move the processed shadow under the layer with the object that casts it. In a multi-layered document, just use the mouse to do this. If you created a shadow from a section of a single layer file, go to the background layer and load the selection saved in a separate channel. Go back to the copy of the layer and apply the Clear option of the Edit menu to it. In this way, you will remove part of the shadow that should be behind the object.
Step 8
For further work, save the document with the Save option of the File menu. If you do not want to lose the previous version of the file, use the Save As option.


