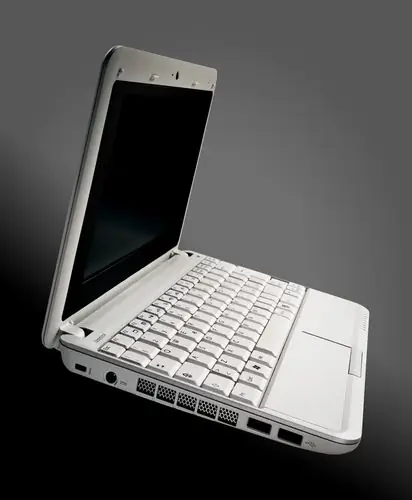
Sooner or later, every laptop owner has a desire to disassemble his iron friend. The reasons may be different, someone wants to expand the memory, someone was advised to clean it from dust, but in any case, you cannot do without knowing the specifics of disassembling laptops.

Instructions
Step 1
A laptop is a more complex and compact system than a conventional computer tower, and when disassembling it, you need to be very careful not to break the device and make it unusable. Disassembling a laptop should begin with a thorough external examination. Turn the laptop upside down. On the bottom, you will see covers, under which various peripheral modules will be hidden - RAM, hard drive, Wi-Fi module and others. The first step is to remove the battery. Even if you previously unplugged your laptop from the network, many of its nodes may be energized. Remove any screws you can see, making sure not to lose sight of the screws hidden under the modular covers and the battery.
Step 2
Now you need to remove all visible devices. The hard drive is usually removed by sliding it away from the connector. Some discs may have a special tab to make this task easier. The next step is to remove the disk drive, the screws for its fastening are located on the bottom, but in some cases it may have additional fastenings under the keyboard, and then you will have to postpone the removal of the drive. Disconnect the power cables of the processor cooler and the Wi-Fi module, remove the cooler. The need for periodic cleaning of the cooler from dust may arise, even if you work in a clean, ventilated area. You will be surprised at the dust accumulated on the fan. If the cooler was your goal, then after cleaning it, the laptop should be assembled in the reverse order of disassembly.
Step 3
But such cleaning does not always help, sometimes there is a need to clean the heatsink and update the thermal paste on the processor crystal. Remove the screws securing the radiator. Usually the heatsink is secured with 4 screws and one of them is hidden under the warranty sticker. If the old thermal paste has dried, it may take a little effort to separate the heatsink from the processor, but remember, be careful - your everything, brute force can completely destroy your computer. This completes the work with the bottom and turns the laptop over to its normal position. All other fastening screws are located under the keyboard; in different laptops, the keyboard is removed in different ways, but upon careful examination, they all have grooves and latches, which can be used to remove the keyboard from the laptop. Disconnect the keyboard cable. If you set out to get to the matrix, then you will need to remove the top cover of the laptop. Do not forget to disconnect the matrix cable before doing this. Examine the laptop for hidden screws, unscrew them. Remove its top cover. The matrix itself is attached to the case with screws; during dismantling, it also becomes possible to access the inverter.
Step 4
To remove the display, you need to remove the caps located around the perimeter of the screen, unscrew the screws under them and with gentle effort remove the frame from the display. Throwing back the ribbon cable, you can easily remove the display matrix from the laptop. The extent to which a laptop is disassembled will depend on your ultimate goals, but remember, you must know exactly what you are disassembling for. If you are not confident in your abilities, then it is better to contact a special repair service, the specialists working there will cope with the disassembly much faster and better, and most importantly, they will not harm the computer due to the lack of the necessary experience.


