To add expression to an image or create a collage, you may need to add rays of light to the photo. The graphics editor Adobe Photoshop allows you to do this in different ways.

Instructions
Step 1
Create a new document in Adobe Photoshop using the New command from the File menu. From the toolbar, select the Gradient tool and click on the gradient editor on the property bar. Assign a start and end color, then select a Radial gradient type. Extend a line from the top of the image to the bottom.

Step 2
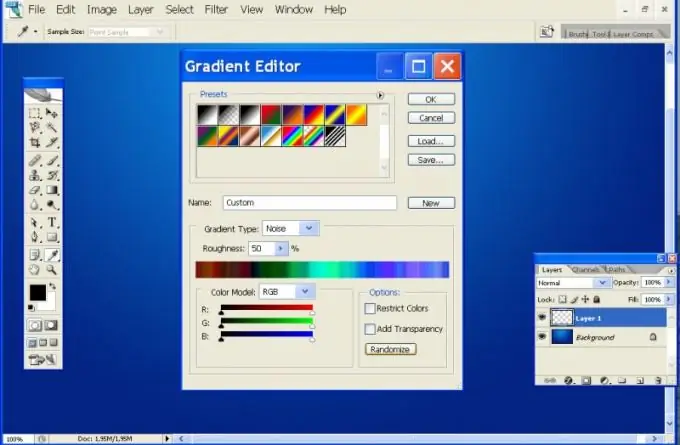
Again call the gradient editor and set the type to Noise ("Noise"). Double click on the Randomize button and click OK. On the property bar, check the Angle Gradient type. Extend a gradient line from the midpoint of the top border of the image, from left to right. Apply the Desaturate option from the Image, Adjustments menu.

Step 3
The rays can be blurred. To do this, in the Filter menu, select Gaussian Blur or Motion Blur and set the appropriate radius. In the same Filter menu, select Render and Lens Flare. Set the desired size for the light source and place it at the divergence point.

Step 4
You can create rays of light that pass through some kind of obstacle - in this case, through an interweaving of branches. Use the Shift + Ctrl + N keys to add a new layer.

Step 5
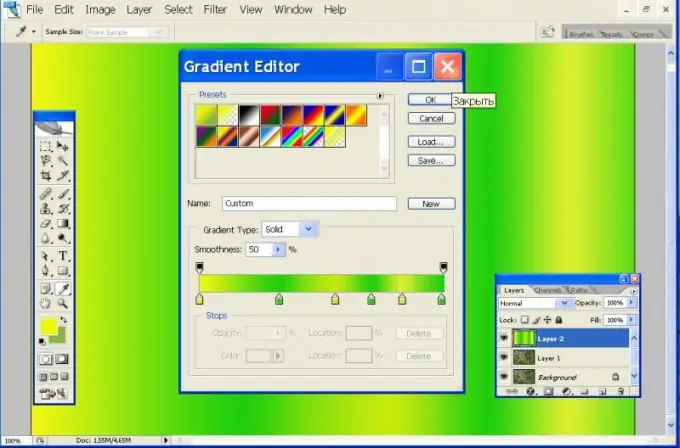
On the toolbar, check the Gradient and click on the gradient editor on the property bar. Using different shades of yellow and green, create a striped gradient and drag a line from left to right.

Step 6
From the Filter menu, select the Noise and Add Noise commands, Amount = 400. Then in the section Blur ("Blur") use Radial Blur ("Radial blur"). Apply the Overlay blending mode to the noise layer. Use the Move Tool to place the rays in the most suitable place on the image. Apply a Gaussian Blur to the layer with a radius of 0.5 px. Save your changes to the image.


