When creating collages and processing photos, sometimes you need to rotate an image or a fragment of it at an arbitrary angle. This can be done in a number of ways using the free paint.net graphics editor.
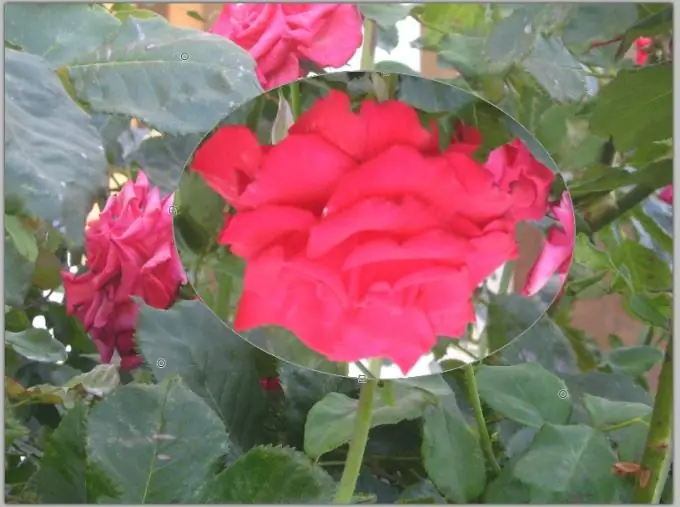
Instructions
Step 1
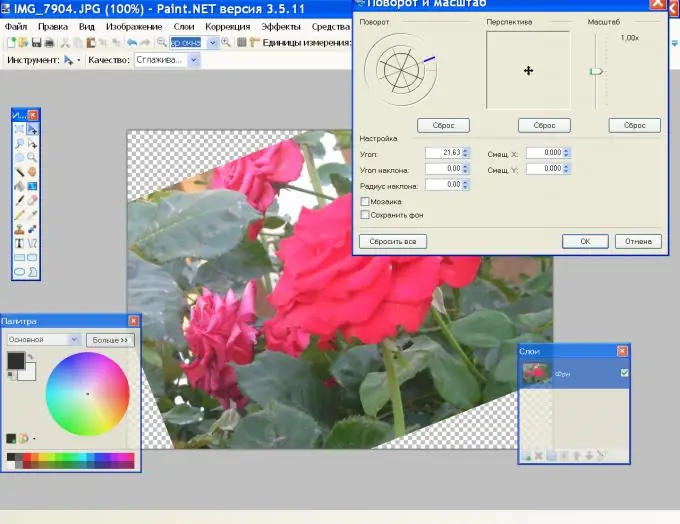
Open the image in Paint.net and go to the Layers menu. Click the Rotate And Scale command or press Shift + Ctrl + Z. To rotate while maintaining proportions, hold down the section of the diameter of the "Rotate" tool highlighted in blue with the mouse and rotate it in a circle. To fine-tune the rotation, change the Angle field by clicking the up and down arrows.
Step 2
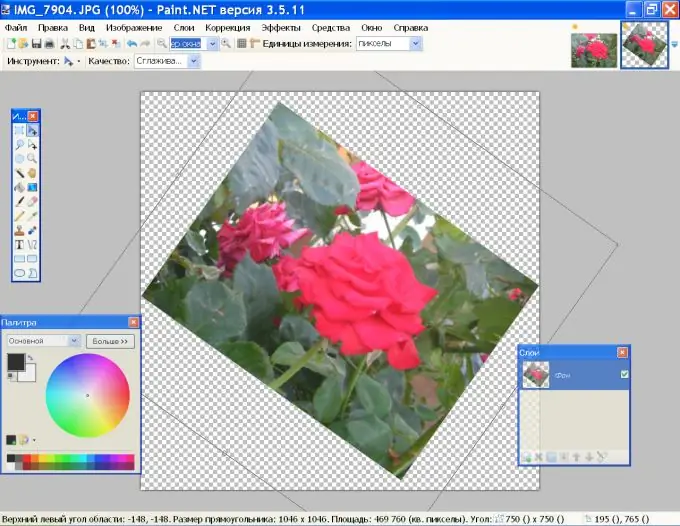
There is another way. Press Ctrl + A to select the image. Right-click inside the selection and, without releasing, start moving the mouse. The drawing will rotate around the axis without changing the proportions.
Step 3
If you do not want part of the image to be cut off when you rotate, you need to enlarge the canvas (the basis of the picture). On the Image menu, click Canvas Size and enter new values for Width and Height.
Step 4
A white background appears around the image. Click it with the Magic Wand Tool and hit Delete. To rotate the pattern, press M on the keyboard and rotate as in step 2.
Step 5
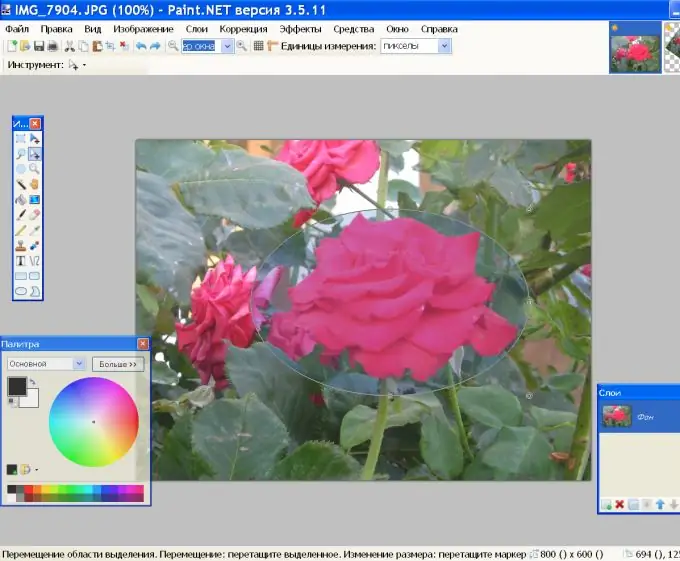
You can rotate not the entire image, but some of its fragments. First, select the desired detail in the picture. It is convenient to do this with the Rectangular Area Selection and Oval Area Selection tools. Since the selected objects are not always the correct shape, the selection needs to be adjusted.
Step 6
On the toolbar, click the desired icon and circle a section of the picture. Then check the Move Selection Tool. With its help, you can move and transform the selection itself. To move, hold down the selection with the left mouse button, and without releasing, drag in the desired direction.
Step 7
Notice the round blinking handles at some distance from the selection line. With their help, you can change the shape of the selected area, making it as close as possible to the shape of the selected object. To do this, hook the marker with the left mouse button and move it.
Step 8
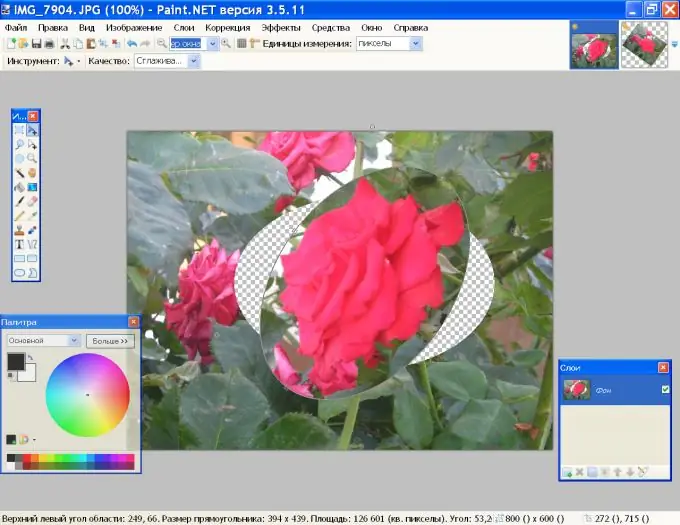
When you are satisfied with the selection form, on the toolbar, select "Move selected area". You will now be working with the selection. You can rotate it on the same layer. Click inside the selection with the right mouse button, and without releasing it, move it.
Step 9
All manipulations can be carried out on a separate layer. Press Ctrl + C to copy the selection to the clipboard. Click the Add New Layer icon in the Layers panel and press Ctrl + V. Now you can rotate the part of the drawing with the mouse holding the right button or the command "Rotate and scale" from the "Layers" menu.


