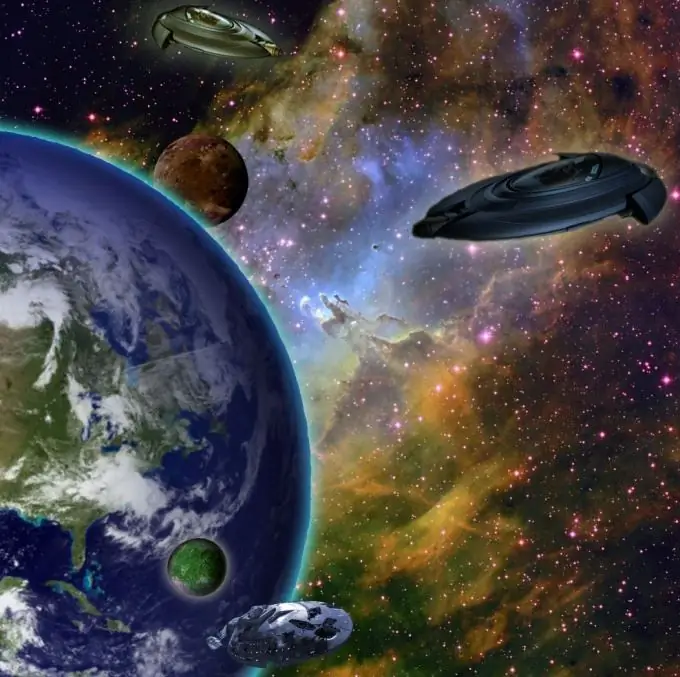
Wonderful invention - Adobe Photoshop. In this program you can do everything that imagination is capable of. You can create a picture in which you are standing near the pyramid under construction. Or place the castle on the cloud. Combining several images in one is called applique or collage.

Instructions
Step 1
Choose a background to overlay all the other elements. The image must be of good quality and resolution. Open the background image or photo with any version of Adobe Photoshop. Add the following picture and hold down the Ctrl key and drag it onto your background.
Take the Magic Wand Selection Tool in the left sidebar. Left-click on the background you want to remove. Slightly correct the selection area (increasing and decreasing) and delete the unnecessary part of the picture by pressing the backspace button.
Click on the eraser tool, select a small soft brush in the tool options. Finish the edge of the cutout. The same tool can be used to remove the background. First, take a larger brush to "erase" a larger area, then a small one to eliminate minor imperfections without damaging an important part of the image.
Step 2
Then press the keyboard shortcut Ctrl + T (transformation). Enlarge or reduce the image, transform in any direction. To avoid losing proportions, hold down Shift.
Do the same with other pictures. Correct the color of the image. Click in the top panel "image" - "correction" - "color balance". Adjust the color scheme so that the image fits more naturally.
Then adjust the brightness and contrast. To do this, click "image" - "correction" - "brightness and contrast". And by moving the slider left or right, achieve the desired result.
Step 3
Add some effects to the image. For example, for a planet, make an atmosphere. To do this, go to "Layers" - "Layer Style" - "Inner Shadow", "Outer Glow" and "Inner Glow". Experiment with the settings. Save your work in PSD or PDD format so that there is an opportunity to modify or redo something. Save the final result in.jpg"


