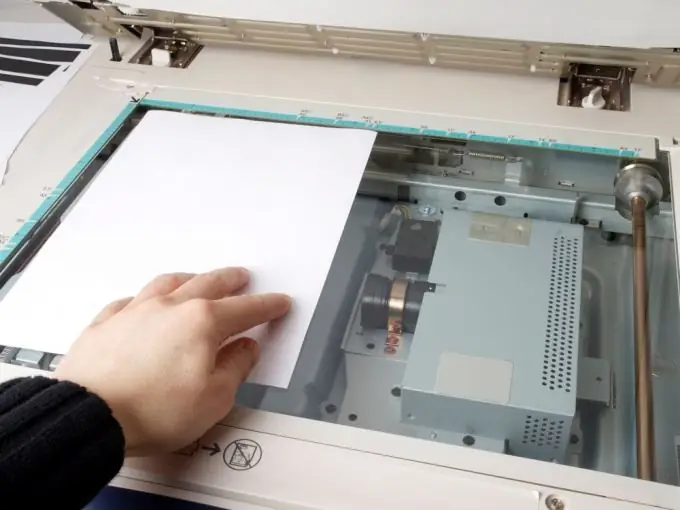
A scanner is a special digital device that analyzes a specific document or object and creates an exact electronic copy of it. The actual process of the scanner is called scanning and is used in a wide variety of areas of human activity. But most often scanners are used to create copies of any documents or images and then work with them.

Scanner types and their compatibility with Windows
Scanners are available in color and black and white. Their dimensions depend on the model and brand of the manufacturer. Today scanners are produced by hundreds of companies, mainly from the USA, Japan and some countries of Southeast Asia. The vast majority of them are compatible with the Windows operating system.
It is worth noting that you can install the scanner yourself in two ways. Their choice depends on whether you are connecting the scanner directly to a personal computer or laptop (the so-called local scanner installation) or to a shared network scanner through which your model will work.
How to properly install the scanner on a PC or laptop
To install a local scanner, you need a basic USB cable. As a rule, it is included in the package. However, you can use any other USB cable. Connect one end to the back of the scanner itself, the other to a special connector on your computer. Turn it on and wait for a while for Windows to automatically detect it.
If Windows is unable to detect the scanner, you may need to install drivers on your computer. A driver disc is also included in the package. If for some reason you cannot find it, go to the official website of the scanner manufacturer. Drivers for all models will be posted there for free download in a special section. Download and install them on your computer or laptop and try connecting the scanner again.
How to install the scanner yourself via a network server
In many organizations, all scanners are connected to one specific network scanner. This makes their work much faster and saves employees time.
In this case, you will need to spend a little more time to properly install the scanner. First, connect the scanner to your computer using a USB cable. Then click the Start button on your computer. In the menu that opens, select the Control Panel section, and then - Network. Following these, you will see a special menu in which you must select the Network and Sharing Center item. Select the command View network computers and devices in it.
Find your scanner model in the list of scanners and right-click on it. In the menu that opens, select the Install item. Following this, the Installation Wizard will automatically load. Follow its instructions exactly by clicking the Next buttons. At the end of the installation, click on the Finish button. This completes the scanner's connection to the shared network scanner.


