This chapter describes one of the ways to configure a local web server to create a test environment for web developers and web site testers. This server does not need an Internet connection and with the help of it you can easily work with several projects at once. The web server works stably and does not require any special knowledge of system administration during configuration.
Necessary
You will need a Windows operating system of any version, a free version of the web server installation package Endels_setup, which can be downloaded from the developer's site of this product
Instructions
Step 1
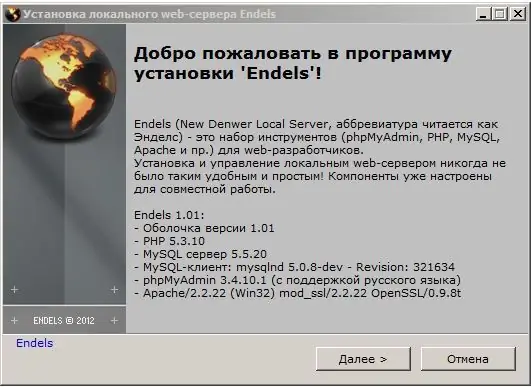
Run the local web server setup program Endels_setup.exe. Click the "Next" button.
Step 2
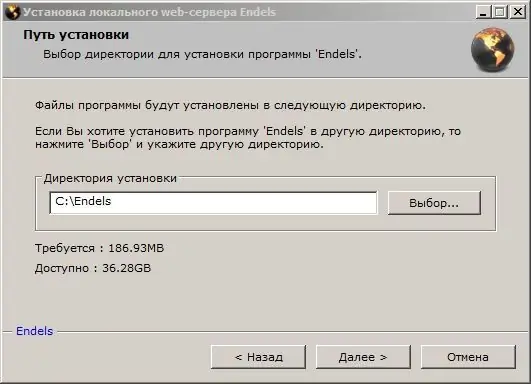
Specify the place where you want to place the local web server itself and the files of your future projects. It is best to choose the drive with the most free space.
Click the "Next" button.
Step 3
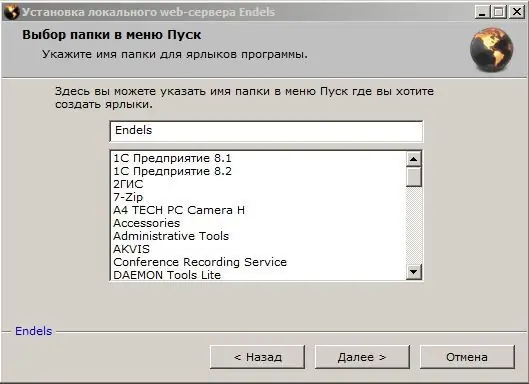
Agree to create a desktop shortcut by clicking Next.
Step 4
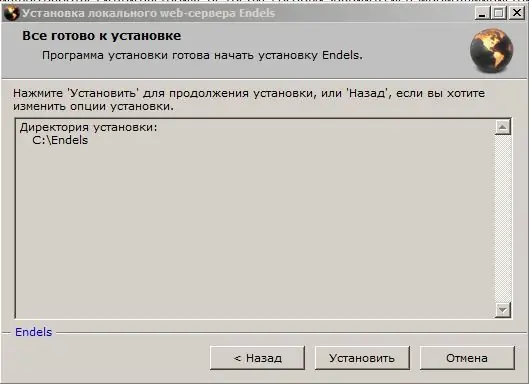
You are now ready to install your local web server. Click the "Install" button. The installation process will take some time. This will display the installation completion window, close it. On your desktop, you will see an icon named "Endels".
Step 5
Start the local web server management shell using the "Endels" icon on your desktop. If the screen prompts you to check for updates, click on the button with the globe next to the question mark. Download the latest Endels local web server installation package and repeat all previous steps.

Step 6
After launching the local web server package, an icon with a black and orange globe will appear in the lower right corner of the Windows desktop tray. Mark this icon with the mouse and by pressing the right mouse button select the "Start" menu item. Your server will be started. Now you can copy your project files to the "C: / Endels / home / localhost / www" folder.
Launch any browser and write "// localhost" in the address bar.
As a result, your project will open, which you can modify, test or change.


