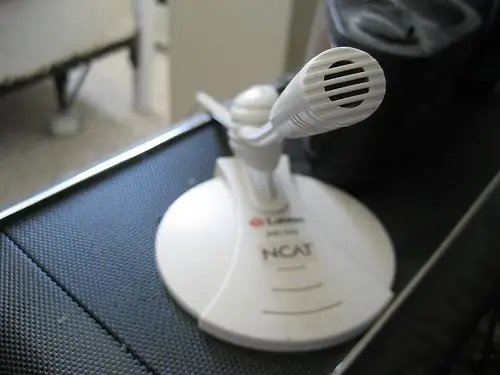
The microphone can find wide applications when used in conjunction with a computer. You can use it when playing online multiplayer games, making calls, chatting in voice chat, or singing karaoke with friends. In order to use the microphone in Vista operating system, you need to make the necessary settings.

It is necessary
microphone, computer with Microsoft Vista operating system
Instructions
Step 1
Check your computer for sound card inputs and outputs. In desktop computers, they are usually located on the back of the system unit, in laptops - on the side or front panels. Standard built-in sound cards usually have 1 input and 1 output - green output for speakers and red input for microphone. Plug your microphone into the red input of your sound card.
Step 2
In the standard system settings, the microphone function is deactivated by default. In order for the microphone to work, you need to go to the control panel of your Vista and click on the “Audio and Video” icon. In the menu that appears, select "Sound recording devices" - "Microphone". Uncheck the “Mute microphone” box and raise the microphone volume to the optimal level. In most cases, it is recommended to raise the microphone level to the maximum.
Step 3
If the microphone does not work, then both the microphone itself and the sound card may be the cause. On some desktop computers, the microphone input may be located on the front of the system unit. In some cases, this input does not work, and you will need to expand the system unit and find the second microphone input on the rear panel. If the microphone is not transmitting any signals, test it on another computer or recording device.
Step 4
If the problem is caused by the sound card, try reinstalling its drivers. In the control panel select “Audio and Video” and click on “Manage devices”. Find your sound card in the list of devices and click on “Update drivers”. Vista will automatically connect to the Internet and install the necessary updates.


