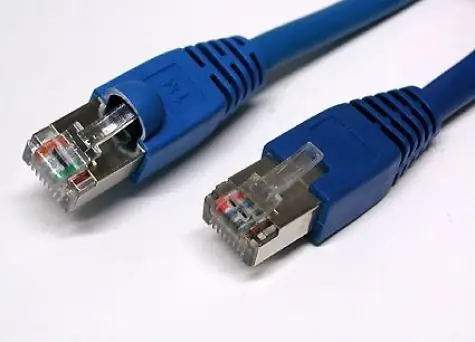
Computer networks are widespread in our time. Without them, a full-fledged exchange of information between users will not work. The networks themselves are different. These are the Internet, office and local networks. To configure computers over a local network, they are first connected with a twisted pair cable into a common virtual space. After that, the computers themselves are configured. To do this, it is better to use the services of certified specialists, or you can try to do it yourself.

Instructions
Step 1
Go to the start menu. Select the Control Panel tab. Open the "network connections" or "network control center" item. If you do not have any network connections, then run the "New Connection Wizard". After the first connection appears, you will need to configure it. To do this, you need to find out which "home group" your computer belongs to, and what "ip-addresses" other computers have. If the network is being configured for the first time, you will specify these parameters yourself. In order to find out or change the "home group", right-click on the "my computer" icon. In the drop-down menu, select the "Properties" item. A window will appear in front of you where you will see the computer name and homegroup. You can change these values. Reboot your computer.
Step 2
After that go to the "network connections" menu. Right click on the network connection icon. Select Properties. You will see a window in which find the "Internet Protocol (TCP / IP)" parameter. Click the Properties button. In the window that appears, check the box "use the following IP address". Write it down in this order: "129.168.0.1". The number one means the serial number of the computer on the network. The next computers should be "2, 3," and so on. Click the mouse in the "subnet mask" field. The value "255.255.255.0" will be written. Don't change anything. Slightly below you can write "preferred DNS server", for example "192.168.001.1". Save your changes.
Step 3
After that, you need to configure access to your local drives. To do this, double-click on the "my computer" icon. You will see a window with local drives. Click on one of them with the right mouse button. In the menu that appears, select "Share". Check the boxes next to the options that you think you need to allow. Press the "ok" button. Now set up those other computers in the same way.
Step 4
Then open any window. In the address bar, enter the ip-address of the neighboring computer and, if you did everything correctly, you will get access to its resources. If it doesn't, turn off your firewall and try again.


