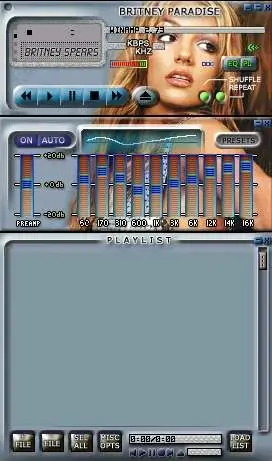
Winamp is one of the most popular programs for listening to music, and of course every user would like to make its appearance unique, corresponding to his style and musical preferences. Various skins allow you to change the appearance in Winamp, but it is often quite difficult to find a ready-made skin that suits you completely. In this case, the best way out is to make the skin yourself.

Necessary
Winamp, Winamp Skin Creator
Instructions
Step 1
You don't have to learn programming to create skins. Download Winamp Skin Creator, which is specially designed for this purpose.
Run the downloaded utility and specify the path to the folder in Program Files where Winamp is installed. Open the Misc tab, enter the name of the new skin and your name in the "Author" section. Also, in this tab, change the language from English to Russian, if it makes working with the program more convenient.
Step 2
Open the Main tab and click the download image button. Find a suitable picture or photograph on your computer. Frame it and specify a fragment of the image that will be the main background of your new skin.
Step 3
Find the styles section in the Main tab. By default, the utility offers 3 styles, if you wish, you can download additional ones. By clicking the preview button, you can switch between styles and watch how the skin changes, choosing the most suitable option.
Then go through each tab in turn to complete the setting. Choose a playlist display style, add additional color for text, numbers and an equalizer.
When you are satisfied with the result, click Create Skin.
Step 4
To load the created skin into Winamp, go to the "Configuration" section and open "Skin types - select skin", then specify the path to your file. Now your version of Winamp can be safely called original.


