Admiring photos of girls in glossy magazines, you probably often admired their clean and smooth skin. No wrinkles, no extra mole, no scratches, no pimples - perfect skin. Of course, in reality, the models' skin is not that beautiful. Professional retouchers achieve the desired effect. They know how to make their skin smooth and clean. Professionally, of course, you will not learn to process in one day. But you can make your photos a little prettier and more attractive.

Instructions
Step 1
Open the photo in Adobe Photoshop. Duplicate the layer immediately. You should always work on a copy and leave the original layer unchanged. So it will be possible, firstly, to compare the result, and secondly, if something does not work out, you can always start over.

Step 2
First, cleanse the skin of small pimples and wrinkles. Take the Healing Brush tool. Hold down the alt="Image" key and click on a clean area of the skin. The brush will take a sample. Now you can release the key and begin to gently cover up all the pimples. This way you can get rid of not only pimples. "Cure" scratches, moles, wrinkles, bags under the eyes, bruises. Remove oily sheen. Remember to smooth your neck.

Step 3
In fact, this processing is quite enough to look beautiful in the photo, and for the skin to be clean and smooth. But if you want to try something else interesting, make a copy of the processed layer to continue.

Step 4
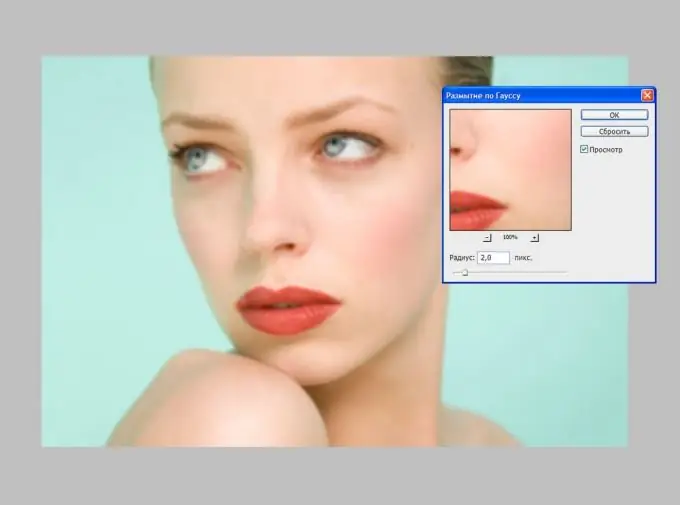
Use the Gaussian Blur filter. Set the settings to a small value for a start. Click OK. The whole photo has become blurry. It's time to change the layer's blend mode. Try the following modes: screen, overlap, soft light, hard light. Also don't forget to adjust the opacity of the layer. By playing around with these settings, you are bound to get great results.

Step 5
Also, the degree of Gaussian blurring of the image has a great influence. Try turning off the top layer and making a new copy of the previous one. Apply the Gaussian Blur filter again, but this time set it to a much higher value. Change the layer's blend mode and opacity. As you can see, the result is very different from the previous one, although you just changed the degree of blur. In any case, your skin in the photo is smooth, clean and pleasing to the eye.
Save your work.


