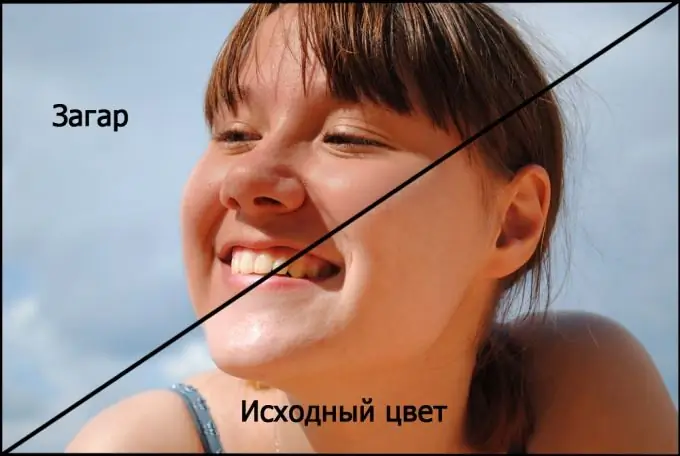
The camera does not always convey all the colors and shades the way we want it. For example, the skin in the pictures is often not sufficiently tanned. It is very easy to fix this with Adobe Photoshop. In this case, it is not at all necessary to do any complex operations. It is enough to use a regular brush and layer blending modes correctly.

Necessary
Photoshop
Instructions
Step 1
Open the image in Adobe Photoshop. Double click on the "Background" layer to unlock it. The layer will automatically be renamed to "Layer 0". Carry out all the operations necessary for your photo (sharpness, contrast, adjust the histogram if necessary).
Step 2
Create a new completely empty transparent layer. Take the Brush tool. Choose a color that is close to your skin tone. On the created clean layer with a brush (set the hardness to 0) paint over all areas where the skin is exposed (face, arms, legs, etc.). Avoid staining your teeth and eyes. The paint should cover the skin very carefully: without gaps, and without getting out of the border.
Step 3
Change the blending mode of the layers to Multiply. The result will be very "African". Therefore, you should change the transparency and visibility of the layer. Move the sliders until you get the realistic result you want.
Step 4
If you want to change the skin tone a little, then apply the Hue / Saturation adjustment tool to the layer on which you painted the skin. Open the menu item "Image - Correction - Hue / Saturation". Here you can remove excessive redness or yellowness, or even make the skin an unusual color. Adjust color saturation and brightness. Save the result and enjoy your summer tan.


