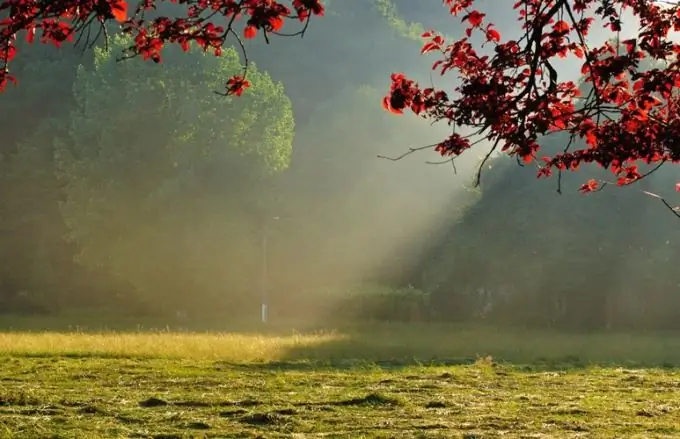
The sun's rays passing through the clouds give the landscape a picturesque look. Unfortunately, such a scene is not always possible to capture with a camera. However, you can draw rays in Photoshop and superimpose them on the image.

Necessary
- - Photoshop program;
- - Photo.
Instructions
Step 1
Open a photo suitable for applying lighting effects in Photoshop. The rays will need to be edited without affecting the image. To get this opportunity, add a new layer on top of it by pressing Ctrl + Shift + N.
Step 2
Turn on the Polygonal Lasso Tool and create a selection in the shape of an extruded trapezoid. Fill it with white using the Paint Bucket tool or paint over with the Brush tool. Deselect the selection using the Deselect option of the Select menu or by pressing Ctrl + D. The resulting shape will be a blank for the ray.
Step 3
Apply a blur to the preset. To do this, open the filter settings with the Motion Blur option in the Blur group of the Filter menu. Set the amount of blur, focusing on the change in the picture in the document window. The angle of the blur should roughly match the angle of the shape to be blurred. This will create a ray of light with an opaque top edge and feathering on the bottom.
Step 4
To create a ray with an opaque middle and feathering on both edges, apply the Gaussian Blur option to the preset, which is easy to find in the same group. Adjust the amount of blur in the same way as for the Motion Blur filter.
Step 5
A single beam may not be enough to give a photo a scenic look. Copy the already created light layer using the Ctrl + J keys, turn on the Move Tool and move the copy of the ray to the side. You can make the light effect more transparent by lowering the Opacity for the layer. The Free Transform option on the Edit menu will make the beam wider or thinner.
Step 6
Collect all the rays into one layer, applying the Merge Down option of the Layer menu to the top layer, until there is only a photo and a layer with light in the document. Use the Reveal All option in the Layer Mask group of the Layer menu to create a mask on the rays layer. Using the Brush tool, paint the mask with black in those areas where the rays should not be visible. These can be foreground objects located between the rays and the camera.
Step 7
Change the color of the rays if needed. To do this, use the Hue / Saturation option in the Adjustments group of the Image menu. Turn on the Colorize option in the settings and adjust the appropriate shade.
Step 8
Save the edited photo to a file with a different name from the original photo using the Save As option on the File menu.


