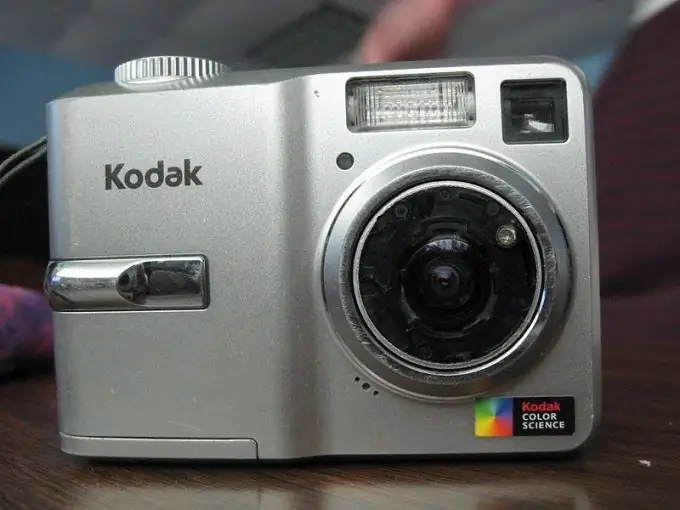
A digital camera can be used not only for photographing, but also for displaying images on a TV screen. Moreover, you can display not only frames taken by the device itself, but also pictures recorded on its memory card using a computer.

Instructions
Step 1
Check if any images are supported by the camera firmware. To do this, connect the camera to the computer, find the folders in which the images are stored, and write to one of these folders a few more JPEG files with arbitrary sizes and color depths editing and having a non-standard aspect ratio).
Step 2
Disconnect the device from the computer (after completing the procedure for safely removing hardware provided in your OS, similar to a USB flash drive). Display the pictures you have taken on the camera, and then find the pictures you just recorded. If they are also displayed, the device can be used to display any images on the TV screen. If not (there will be a failure or they will not appear in the list at all), they should be converted to a format supported by the device.
Step 3
To find out what parameters the images must have in order for the camera to show them, reconnect it to the computer, copy any image from it to the hard disk, then open it in any graphics editor, for example, GIMP. Select the item in the menu that allows you to find out the characteristics of the image (in GIMP - "View" - "Image Information"). Pay attention to two parameters: "Size on screen" and "Optical depth".
Step 4
After opening the image that you want to record in the camera, transform it so that its resolution and color depth exactly match the standard for this camera model. Rename the file so that its name matches the template used by the device itself, but at the same time give it a number that does not yet contain a file on the memory card. Transfer the file to the machine. Unplug it again, remembering to safely remove it, and make sure it now shows up.
Step 5
Connect the unit to the TV and display the desired image on its screen.


