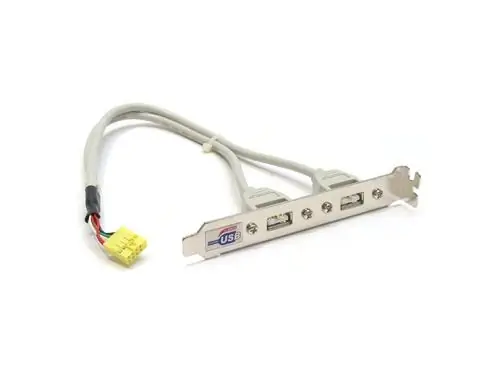
The significant number of peripheral devices connected via the USB protocol forces many users to look for ways to expand the functionality of their computer by increasing the number of USB ports. The most convenient (and most inexpensive) way is to connect a USB bracket that adds the necessary ports from the back of the system unit.

Instructions
Step 1
As always in such cases, you will need access to the inside of the system unit. Disconnect it from the mains, unscrew the locking bolts (or unfasten the latches) and remove its cover (or, if possible, only the left wall, when looking at the case from the front).
Step 2
Insert the bracket from the inside of the case so that the USB ports protrude from one of the slots for mounting expansion cards. Secure the bracket with a screw or latch (depending on your case).
Step 3
Connect a wire with a connector (there can be two or more) to the nine (or ten) pin connectors on the motherboard, designated USB (check the manual for the board for their location).
Step 4
Build your computer, turn it on, and make sure the new USB ports are working.


