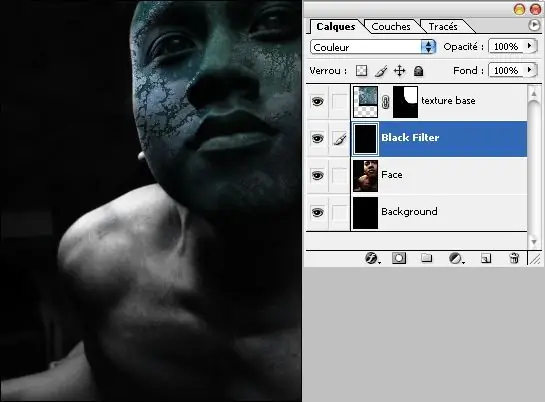
With the help of the graphics editor Adobe Photoshop, you can create the most incredible visual effects and change familiar photos and images beyond recognition. In particular, in Photoshop, you can overlay one image on another, as a result of which you can achieve unusual and original effects on the image. Blending two pictures on top of each other can be done in a short amount of time using different opacity and layer blending options.

Instructions
Step 1
If you want to overlay an image with a pre-made texture, open in Photoshop the good resolution photo you want to resize, and then open a texture file that matches the size of your photo.
Step 2
In the document with the photo in the layers palette, create a new layer (Create new layer) and move the image with the texture to it, which you want to superimpose on the previous image. Rasterize the texture layer by choosing Rasterize layer from the corresponding menu.
Step 3
Reduce the Opacity to 50% and then open the Edit menu and select the Free Transform option. A frame with anchor points is formed around the texture image. Right-click on it and select the Warp option.
Step 4
Pulling out the frame in different places with the left mouse button, achieve the desired size and shape of the texture so that it best matches the shape of the original photo on which you want to apply the new texture.
Step 5
Try to connect the contours of the photo and the texture together, and then press Enter. Change the Blending Mode of the layers to Multiply, and increase the Opacity of the layer to 70%.
Step 6
Finally, edit the texture - process some of its fragments with the Dimmer and Illuminator tools, and then with a soft eraser (Eraser Tool) erase excess texture fragments around the desired object in the image.


