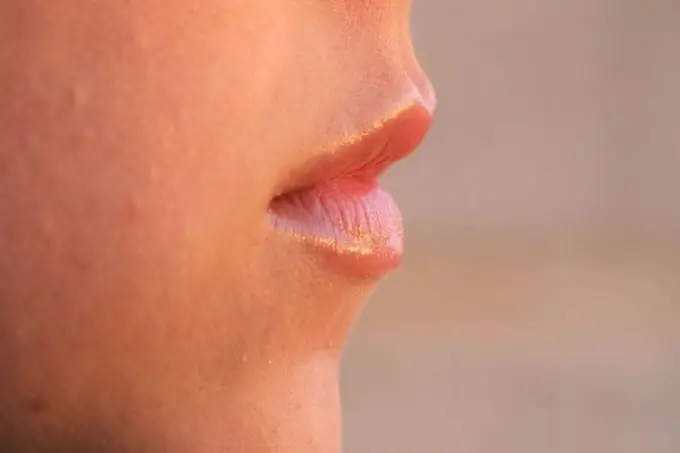
It's a shame when, on the day of photography, acne pops up on the skin of the face at all inopportunely - a memorable photo becomes a nightmare. But the matter is fixable. To smooth out skin imperfections in AdobePhotoshop, there is a special set of tools Healing Brush ("Healing Brush").

Instructions
Step 1
Load the file with the photo. Having found the problem area, we increase the scale of the image so that we can see in detail what we will be doing.
Select the Spot Healing Brush tool, select the brush size so that it slightly covers the problem area. We click the mouse button, and the program will automatically find a similar fragment of the image to replace the annoying flaw.
Step 2
It may happen that the automation will not cope with the task, and then you will have to specify the place of "transplantation" manually. To do this, we will use the Healing Brush tool from the same set - it has more flexible settings. Holding down the alt="Image" key (the cursor turns into a target icon), we find on the image such a place that, in our opinion, matching the color and texture, could imperceptibly "camouflage" a flaw. We click in this place, then the alt="Image" key can be released. Now, having brought the brush to the problem area, we have the opportunity to retouch it more correctly.


