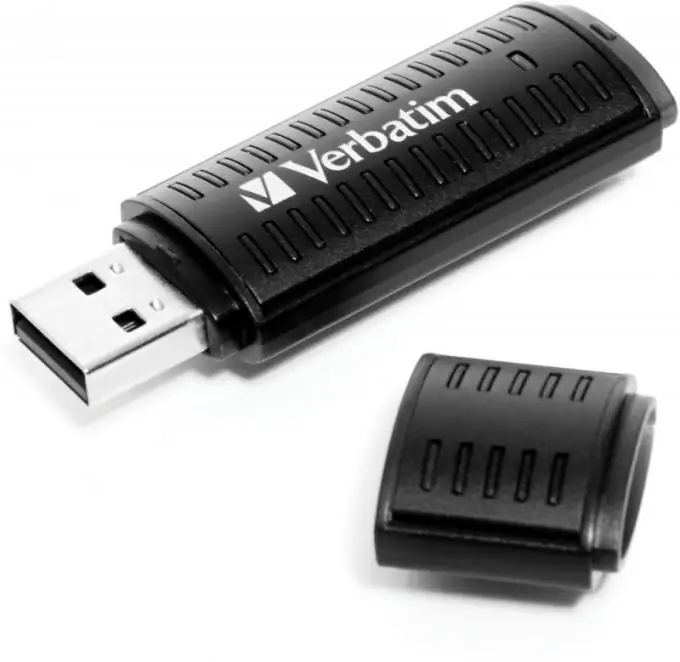
Overclocking a flash drive means increasing the speed of working with removable media. The operation itself is not easy, and in some cases it can also void your device warranty.

Necessary
- - computer;
- - USB stick.
Instructions
Step 1
Make sure your computer has all the drivers you need for proper functioning, in particular, check USB 2.0. This can be done by opening the Add / Remove Programs menu in the Control Panel.
Step 2
Restart your computer. When loading it, press Del or any other key, which, according to the instructions for your motherboard, is a command to enter the BIOS program.
Step 3
In the window that opens, open the USB Configuration using the arrow keys. Activate the enabled mode for USB 2.0 Controller. To change the values in the BIOS program, use the plus and minus keys.
Step 4
In the USB 2.0 Controller Mode menu that appears, select the Full / HiSpeed configuration (depending on the version of the motherboard in the computer). After you save the changes, the speed of work with removable USB-storage media will become the maximum possible.
Step 5
If you notice a slowdown with removable media, make sure that your computer is not running any programs that consume too many system resources. Also, a decrease in speed is possible when replacing the computer hardware configuration with a less productive one.
Step 6
If you find that the speed of operation of a certain medium out of several has decreased, check the flash drive for errors. To do this, insert it into the appropriate slot, open "My Computer" and right-click on the disc that appears. Check the device for errors. Also, use special utilities that allow you to identify bad sectors in physical memory devices.
Step 7
Do not make any additional manipulations with removable media for overclocking, as they often cannot be recovered after breakdowns.


