In this tutorial, I'll show you how to create a Batman logo using simple objects in Illustrator.
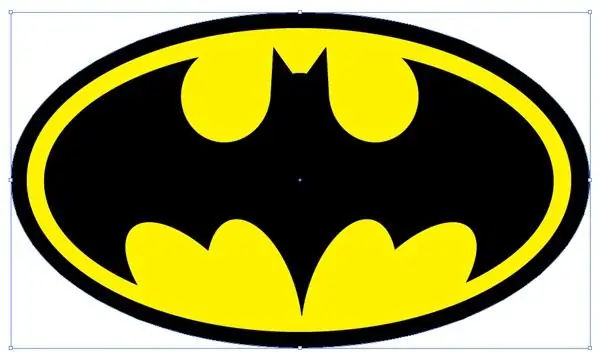
It is necessary
- Adobe Illustrator CS5 or higher
- Proficiency level: Intermediate
- Time to complete: 30 minutes
Instructions
Step 1
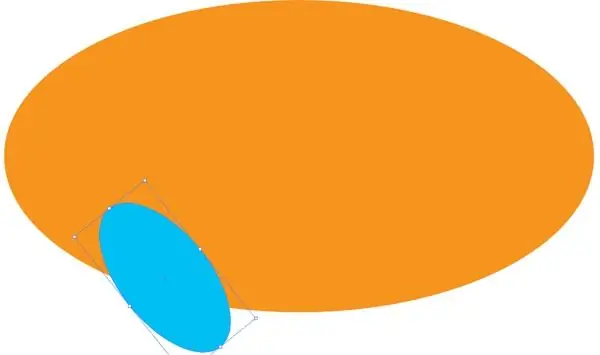
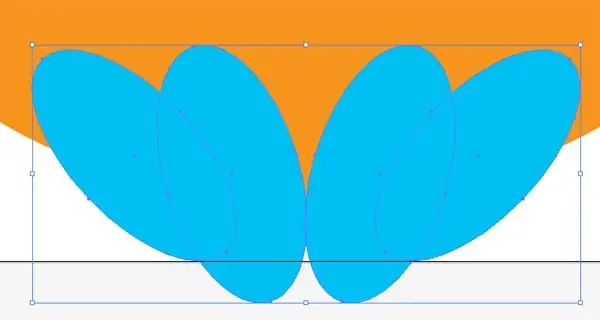
Use the Ellipse Tool (L) to draw a basic orange oval. Draw another oval as shown in the image. This will be the shape of the left wing. I use easily distinguishable colors for clarity.
Step 2
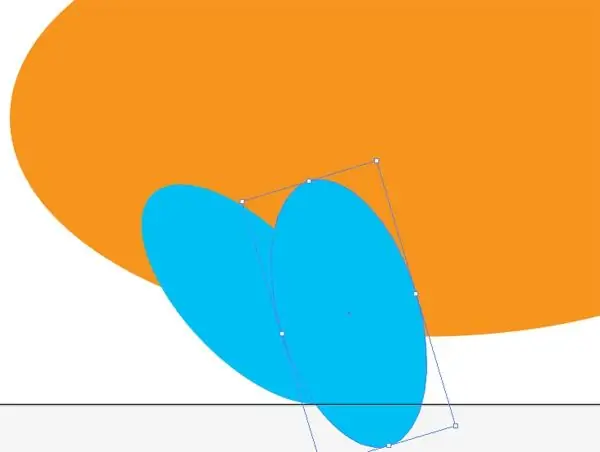
Duplicate the blue oval (Control + C> Control + V) and rotate it 30 degrees to the right.
Step 3
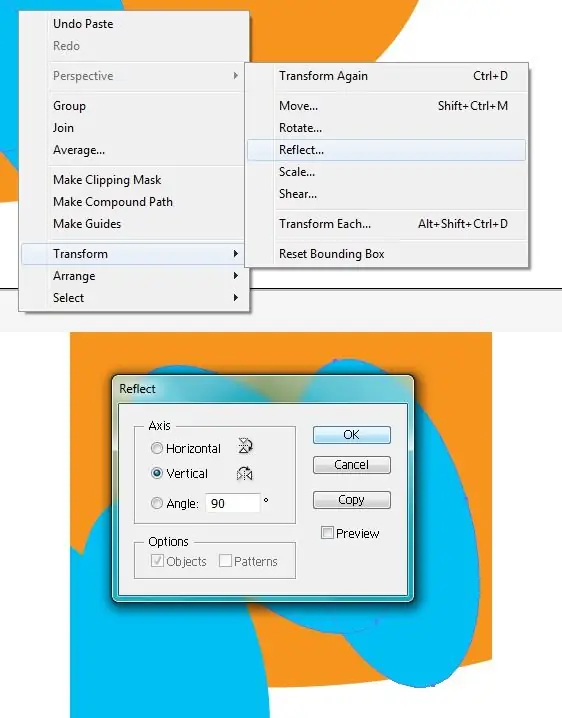
Select both blue ovals, make a copy (Control-C> Control-V), right-click and choose Transform> Reflect. In the window that opens, select Vertical to rotate them vertically. Group the ovals (Control-G) to make them easier to manipulate.
Step 4
Align the two pairs of ellipses as shown in the image.
Step 5
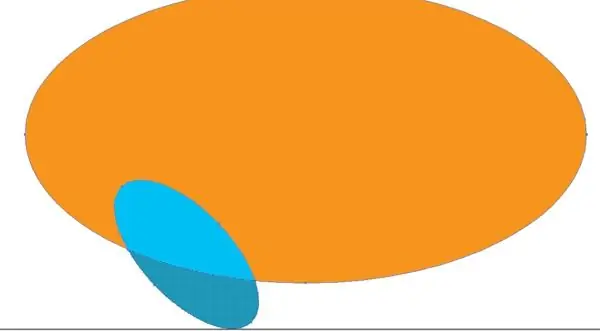
For this step, I have hidden all but one of the blue ovals. Select the orange and blue ellipses and use the Shape Builder Tool (Shift + M) to select the bottom part of the blue oval.
Step 6
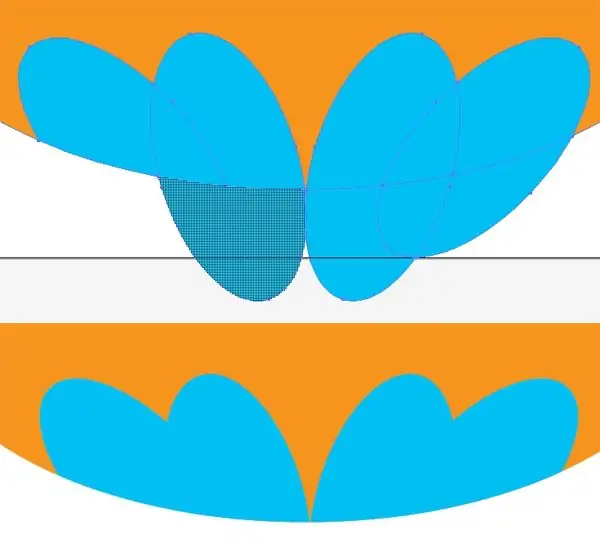
Deselect the ellipses. Using the Selection Tool (V), select the bottom part of the blue oval and press the Del key. Repeat these steps for the rest of the blue ovals.
Step 7
Select the four parts of the blue ovals with the Selection Tool (V), switch to the Shape Builder Tool (Shift + M) and draw a line through them. This will combine the four paths into one.

Step 8
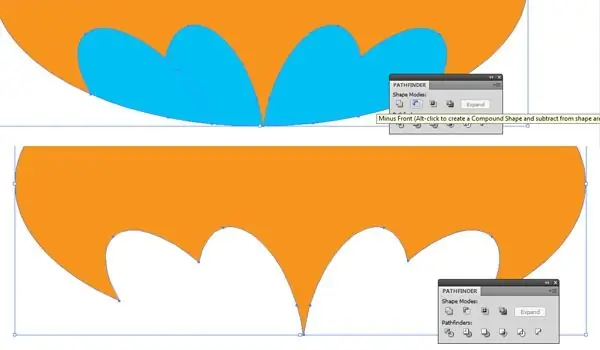
Select all the paths and press Minus Front from the Pathfinder panel.
Step 9
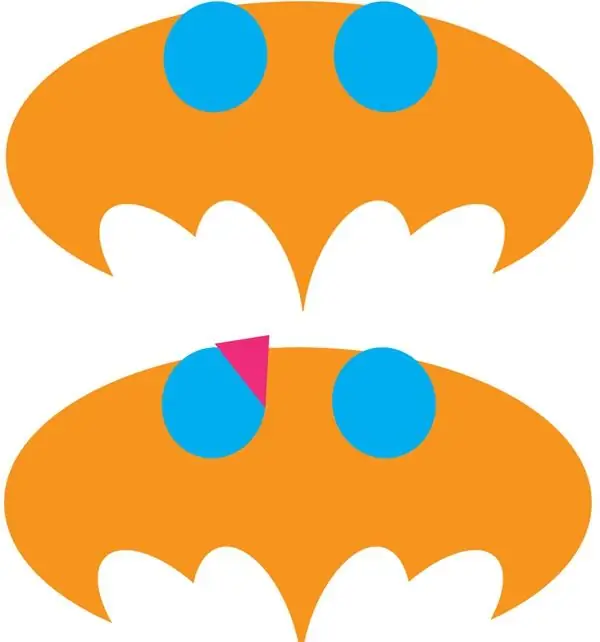
Let's move on to the top of the wings. Using the Ellipse Tool (L) draw two circles as shown in the image. Then select the Pen Tool (P) and draw a triangle as shown in the image.
Step 10
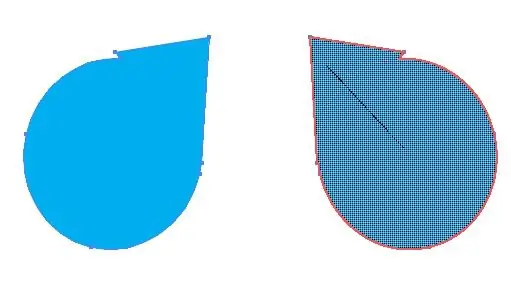
Draw the same triangle for the right circle. To merge the circle and triangle into one path, select them and draw a line through them using the Shape Builder Tool (Shift + M). I have hidden the orange oval here for clarity.
Step 11
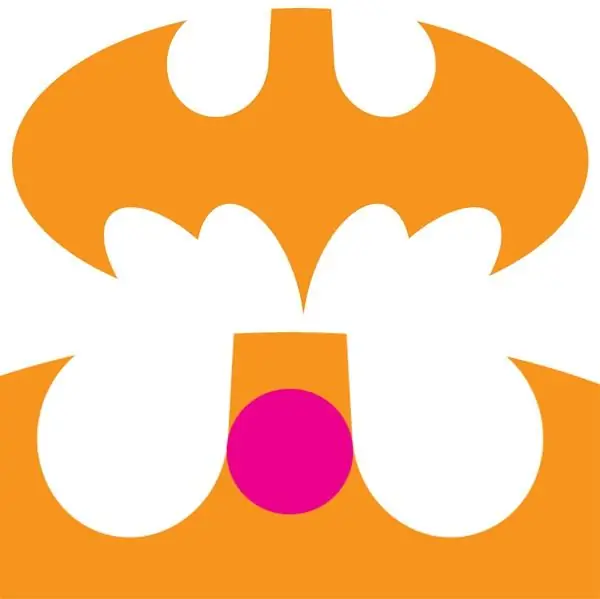
Select all the paths, then select the blue paths with the Shape Builder Tool (Shift + M) and delete them. Using the Ellipse Tool (L) draw a circle as shown in the image. This is the future head.
Step 12
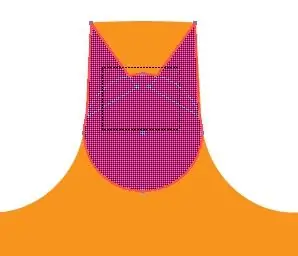
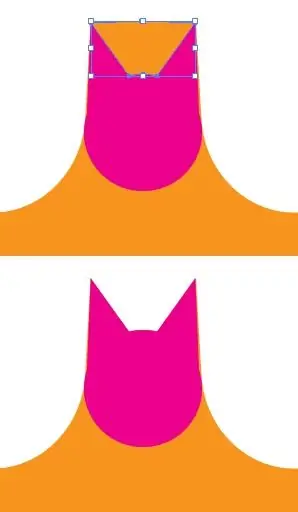
Draw triangles on both sides with the Pen Tool (P) for future ears.
Step 13
Select all the paths and then select the orange part between the two pink triangles with the Shape Builder Tool (Shift + M). Remove this orange piece and merge the remaining paths with the Shape Builder Tool (Shift + M) or from the Pathfinder panel.
Step 14
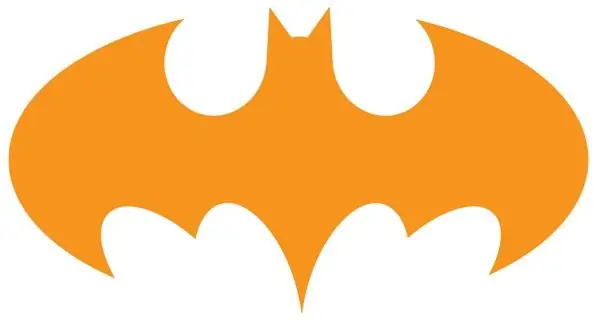
The basic contour is ready. Make sure there are no extra anchor points or unpainted paths anywhere.
Step 15
Select the outline of the bat and change the color to black. Draw a large yellow oval around it and another black oval underneath to complete the logo.


