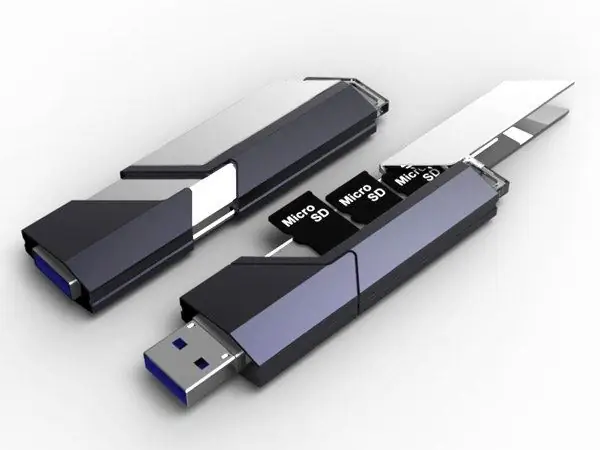
The task of turning a removable USB drive into a hard drive becomes relevant when trying to create a bootable USB drive to use the Diskpart tool. This usually happens when you need to install Windows OS version 7 from XP version. The solution to the chosen task lies in using the Hitachi Microdrive mini-hard disk driver.

Necessary
Hitachi Microdrive driver
Instructions
Step 1
The reason why the Diskpart utility does not display a removable USB device is the presence of a special Removable Media Bit descriptor on each media, which is responsible for recognizing the drive as a removable device by the computer operating system. Therefore, deleting the RMB descriptor will result in the USB stick being displayed as a hard drive.
Step 2
Download and unzip the Hitachi driver archive in any temporary directory. Use your installed text editor application to open the cfadisk.inf file and define a line with the value% Microdrive_devdesc% = cfadisk_install, USBSTORDISK & VEN_JetFlash & Prod_TS1GJF168 & REV_0.00A7B03577C3F1B5 & 0.
Step 3
Connect the required USB device to the computer through the port and open the main system menu by clicking the "Start" button. Go to the "Run" dialog and enter the value of devmgmt.msc in the "Open" line. Authorize the Device Manager tool to run by clicking OK and expand the Disk Devices section.
Step 4
Call the context menu of your flash drive by clicking the right mouse button and select the "Properties" item. Use the "Details" tab of the dialog box that opens to define the device instance code and copy the found value to the clipboard by simultaneously pressing the Ctrl + C function keys.
Step 5
Replace the USBSTOR … value in the cfadisk.inf file with the saved code. Define a string with the value Microdrive_devdesc = … in the Strings group and replace it with anything else.
Step 6
Return to the context menu of your USB-drive and select the "Update driver" item. Apply the checkboxes in the fields "No, not this time" in the first window of the wizard, "Install from a list or specific location" in the second, and "Don't search" in the third.
Step 7
Use the Have Disk option and specify the folder for the cfadisk.inf file in the next window by clicking the Browse button. Confirm your choice in the system request window that opens and disconnect the USB flash drive. Reconnect the created disk and follow the formatting procedure.


