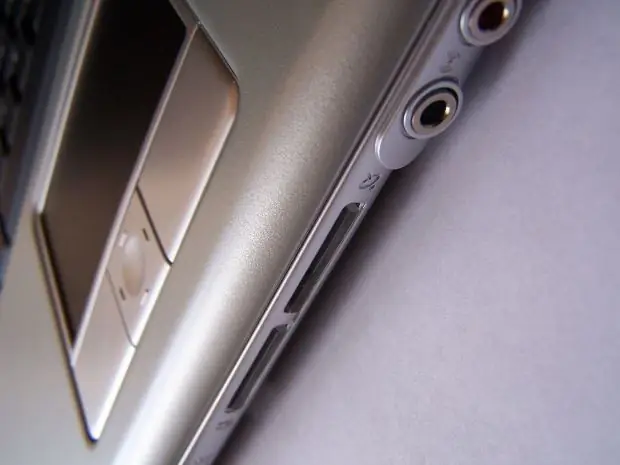
When using a laptop, you can use an analogue of a standard computer mouse - a touchpad (Touch Pad). This is a device located just below the keyboard, which can completely replace a computer mouse. The advantages of this device include the quiet operation of the keys and the compact size. The disadvantages are inconvenience in navigation, especially in computer games or graphic editors.

It is necessary
System and software disable the touchpad
Instructions
Step 1
Regardless of what kind of laptop you have: Asus, HP, Acer, Samsung, Lenovo, the touchpad is disabled according to the same scheme. It is important to understand only the essence of how the disconnection is performed and in the future you can easily disable the touch pad on any laptop, regardless of the company, model and build year. For most laptop users, using a mouse is much more convenient than using a touchpad. In addition, the touchpad sometimes even gets in the way and can delete, modify or otherwise spoil important documents of the laptop owner. Most often, the user can accidentally touch the panel with his hand while typing. But even those who often use touchpads can confirm another drawback: during active work, something like scuffs, visually ugly spots that look like greasy spots on a laptop are formed.
Step 2
Most laptop manufacturers use touchpads from Synaptics. This company has been producing touch panels for several years. With the help of the application software, you can edit the parameters that are originally incorporated into the device of the touchpads (device sensitivity, click speed, scrolling, etc.). The latest versions of these touchpads allow you to lock your laptop. The laptop can be unlocked only by the one who has locked it, using the "fingerprint" technology.
Step 3
To disable the touchpad in your laptop, you need to go to the touchpad properties or use the Synaptics Pointing Device Driver program, which is responsible for the touchpad operation. The program allows you to disconnect the device until the next system boot or completely.
Step 4
To go to the capabilities of the touch panel, click on the "Start" menu, select the "Control Panel" item, then select the "Mouse" item. In the "Properties: Mouse" window that opens, select the "Device Settings" tab. Find the device name and disable it.
Step 5
Disabling the touchpad can be done using hotkeys on the laptop keyboard. Press the Fn function key and the key that shows a hand touching the touchpad at the same time. To enable the touchpad, do the same. For Asus notebooks, the additional keys will be F7 or F9. To disable the touchpad on Acer, press Fn + F5. Lenovo has additional keys - F5 or F8. Samsung uses additional F5 or F6 keys to disable the touchpad.
Step 6
Some laptops are equipped with a special button located next to the touchpad and allowing one easy movement to disable the panel, and if necessary, quickly turn it on without any difficulty. You can find out if there is such a key on your device by referring to the instruction manual for your laptop. The touchpad information section will provide all the keys that interact with the panel.
Step 7
Some touchpads don't have a button to turn it off. But on the other hand, they have a whole area on the touch panel, when you touch it twice, the panel is automatically turned off. The presence of such a site has a significant drawback: it is possible to uncontrollably press on the forbidden area and, accordingly, accidentally turn off the touch panel when there was no need for it.
Step 8
Shut down the operating system on the laptop in the correct way and wait for it to turn off automatically. Power off the computer and all attached peripherals. Remove the battery from the computer. Use a screwdriver to pry off the bezel covering the additional keyboard board. After carefully disengaging the latches, remove this bezel.
Step 9
See if there is a laptop power button on the same board with additional keys. Even if this turns out to be the case, see if any separate loop is used to connect this button. If there is such a cable, disconnect the one of the cables that belongs to the auxiliary keys from the computer motherboard, and leave the one that goes to the power button in place. If the loop of the power button and auxiliary keys is common, you cannot turn it off, and to block the latter, you will have to use a hard cover. It must be thin enough, otherwise it may crush the screen when closing the laptop.
Step 10
Place the connector disconnected from the motherboard in such a way that it does not interfere with putting on the false panel. If there are protruding contacts on it, insulate them from the board with a thin film. Reinstall the false panel. Secure it carefully with all latches.
Step 11
All that remains is to connect the battery to the laptop. Supply power to it, as well as to all peripheral devices. Press the power button - if everything is done correctly, the machine should start. Wait for the OS to load and make sure that the additional buttons do not work. Install the multimedia kiosk software and configure it in such a way that when the program is running, any other application cannot be launched by any key combination.
Step 12
If you need to re-use the laptop outside the multimedia kiosk, do all the above again, but instead of disconnecting the connector of the additional keypad, reconnect it.


