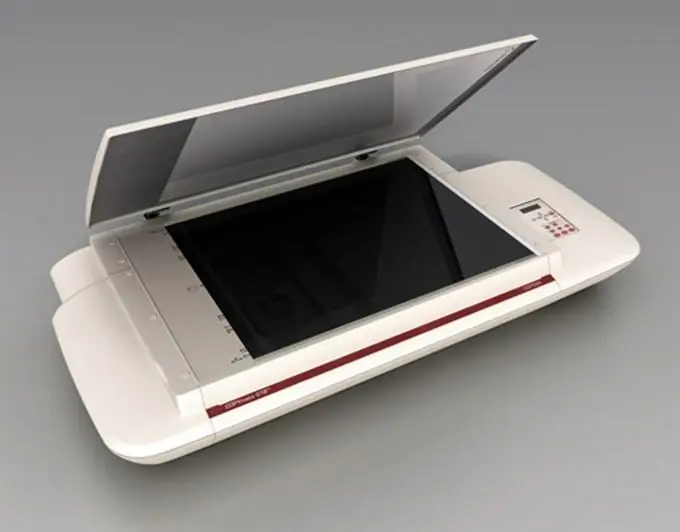
Many have family photo archives. Huge albums are in the closet, it is extremely inconvenient to use them. In addition, sometimes you want to talk about your family on your personal page on social networks. To do this, the photos must be scanned. In principle, any user can do this, only some habit and attention are required.

It is necessary
- - scanner;
- - a set of drivers;
- - photos;
- - Adobe Photoshop, Abbyy FineReader, XnView or any other program that has a scanning function.
Instructions
Step 1
Install the drivers. They may be on the disc that came with the scanner. Sometimes they need to be downloaded from the manufacturer's website. The latter option is most often required when the drivers supplied with the hardware for some reason do not want to work with your system. Read the instructions for the scanner and connect it correctly.
Step 2
Install the required software. Most likely, you already have some programs. If you tried to process images, you probably did it through one of the versions of Adobe Photoshop. The Abbyy Fine Reader program is more versatile - it allows you to scan both images and texts. XnView is mainly for viewing pictures, but it also has a scanning function. To find out about the availability of such a function, go to the "File" menu. Look for the line "scan" in the drop-down window.
Step 3
Run the desired program. In many cases, a window prompting you to open a particular program appears immediately after you open the scanner lid. As a rule, such "numbers" are done by Abbyy Fine Reader. If there is no such offer, go to the "file" menu and select the scan function.
Step 4
Open the scanner lid and put a photo or several in there. You need to place them with an image against the glass. At the same time, a window should appear on the screen, offering to make a preview or scan immediately. Select the first one and click the corresponding button. The scanner will start up, and soon an image will appear on the small window screen.
Step 5
Consider whether you will scan all the photos at once and then cut them, or if you prefer to digitize them one by one. Select one or more depending on this. This is done using the mouse in the same way as in any other program. The selection area is limited by a dotted line. The rectangle can be shrunk or enlarged.
Step 6
There are several more small windows in the scanner window. They differ from manufacturer to manufacturer, but there is always a choice - color or black and white, resolution, size and style. Select color scan to scan color photos. In this window, its different options can be indicated, they will have to be chosen empirically. If the photo is black and white, it is preferable to choose "shades of gray" - then the photo will turn out with all the halftones.
Step 7
Choose a resolution. It depends on what you are digitizing the photos for. For high quality, set a higher resolution. As a rule, the program offers several permissions, but you can set your own.
Step 8
After setting the settings, click the "scan" button and see what happens. If you set the area correctly, then you will get a photo of the same format as the original. After the scanner stops, an image appears on the screen. It can be cropped, expanded and processed like any other picture. In order to save a photo, go to the "file" menu and find the line "save" or "save as". Choose an extension and give the file a name.


