You will learn how to create a local area network between two or more computers by connecting them with a network cable and a network switch. As well as how to lay and crimp the cable, choose a switch and set up your computer.

Necessary
- Twisted pair (cable) category 5E
- Crimping Tools
- RJ-45 connectors
- Ethernet switch (network switch) or hub
- Cable fixing brackets
- A hammer
Instructions
Step 1
First, decide how much cable you need and where you will lay it. If the computers are far enough apart and you may need to lay the cable down the street - consider connecting via a wireless or internet connection. For small home or office networks, twisted-pair cable is an inexpensive and convenient option.

Step 2
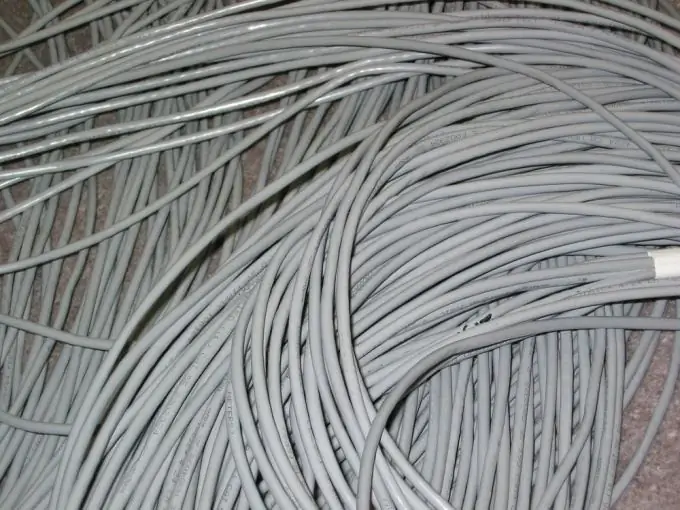
Unwind and route the cable from each computer to the place where you will have the switch installed. Leave a small margin on each side, you may need to move the computer in the future. It is not recommended to connect the twisted pair, therefore “measure seven times, cut one”. You can nail the cable with staples, but do not apply strong pressure or shock to it.
Step 3
Now you need to "crimp" the twisted pair using a crimping tool. You can find such a tool where you bought the cable. Strip the cable insulation. This can be done with a special knife, but this knife is already built into most crimping tools. Then spread and distribute the wiring, aligning them in one row, strictly observing the color sequence: white-orange, orange, white-green, blue, white-blue, green, white-brown, brown. Bite off the excess, leaving just over a centimeter.
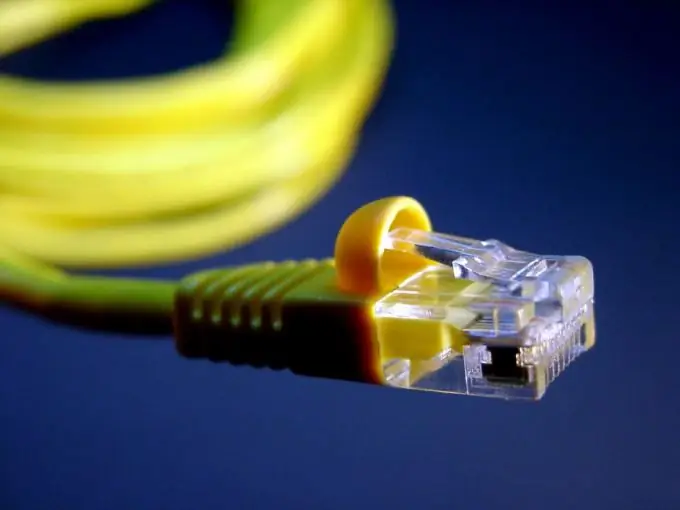
Take the RJ-45 connector and insert the wires into it, make sure that all the wires enter the connector until they stop. In this case, the connector should be held with the latch away from you. Then insert the connector into the clamping tool and squeeze it until it stops. The connector is "crimped", now you can do this with the other ends of the cable.

Step 4
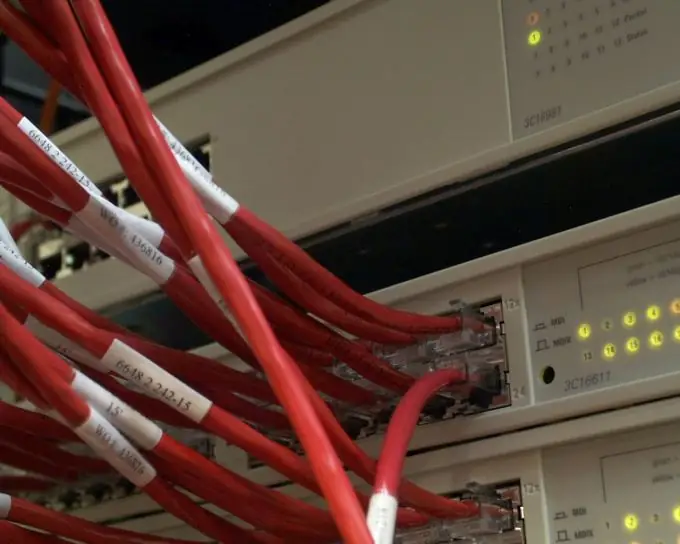
Switch. There are many manufacturers of networking equipment, each with several models. In choosing, you can consult a seller or knowledgeable acquaintances, but there are only two parameters that you need: the number of ports and speed. The first one is the easiest to decide: how many computers - so many ports. Determine the speed based on the capabilities of the network cards that you have. 100 megabits or 1 gigabit. Install the switch, plug it in and connect all cables to it.
Step 5
Now it remains to configure the network. Each computer needs to be assigned an IP address and subnet mask. Since the network is small, no calculations are required. Use the mask 255.255.255.0 for all computers and the IP address 192.168.0.x. It is important to know that in one network there cannot be more than one computer with one address, so if the first address is 192.168.0.1, then the second is 192.168.0.2 and so on.
To set the address, go to "Start"> "Control Panel"> "Network Connections"> "Network Connection Properties"> "Internet Protocol TCP / IP" and fill in the fields as in the picture.
Done, you've made the web.


