In the graphics editor Adobe Photoshop, there are only nine basic options for selecting areas of an image of arbitrary shape. Each of these basic tools can be modified, and the areas highlighted with their help can be added, subtracted and combined in other ways. Sometimes it is necessary to save the area of the image selected in this way in a document separate from the original.

Instructions
Step 1
Launch Adobe Photoshop, load the desired file into it and click on the toolbar one of the icons related to the selection tools for a specific area of the image - there are three of them and each contains several different variations of the tool. To switch the varieties of each tool, click its icon with the left mouse button and wait for the drop-down list to appear, and then click the desired option.
Step 2
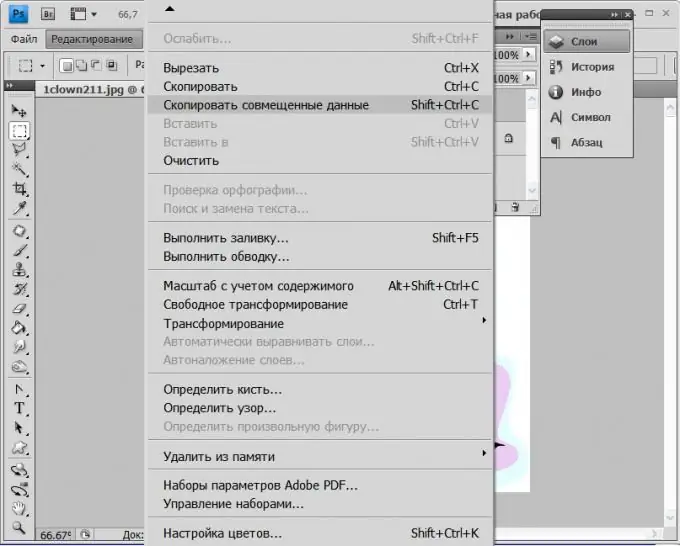
Select an area of the image with the selected tool and then copy it to the clipboard. If the selected area contains an image that is located on several layers, then open the section "Editing" in the Adobe Photoshop menu and select "Copy the combined data". You can do without the menu - this command is assigned the "hot keys" Shift + Ctrl + C. If you are interested only in the part of the image that is located on one of the layers of a multi-layer document, then make sure that the one you need is selected on the layers palette and select in the same section of the “Edit” menu, item “Copy” or use the keyboard shortcut Ctrl + C. You must also act if there is only one layer in the open document.
Step 3
Create a new document. To call the corresponding dialog, you can open the "File" section in the menu and select the "New" item, or you can simply press the key combination Ctrl + N. In the dialog that opens, the height and width will already be set, which correspond to the area you copied to the clipboard, so it is enough just click the "OK" button.
Step 4
Paste the copied area into the created document. This can be done by selecting the Paste command placed in the Editing section, or you can press the keyboard shortcut Ctrl + V.
Step 5
Save a new document containing an image of the area you selected in the original image. To do this, you can select the "Save" or "Save As" item in the "File" menu section. The hotkeys that correspond to these commands are Ctrl + S and Ctrl + Shift + S. If you want to select the optimal ratio of the quality and size of the created file before saving, then select the "Save for Web and Devices" item (Alt + Ctrl + Shift + S).


