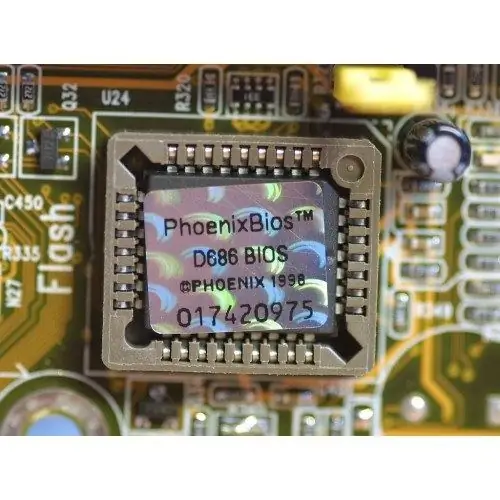
Updating (flashing) the BIOS is a rather dangerous operation that, if improperly performed, can lead to the failure of the motherboard. Therefore, this operation should not be performed without special need. Before starting work, you need to study the information about the problems that may arise during the update, and how to fix them.

Instructions
Step 1
You need to start the operation only during the period when the power outage is the least possible, because the unprocessed BIOS is inoperative. It is best to have a self-contained power source. The BIOS update method from a DOS floppy disk is the safest one. It is carried out as follows.
Step 2
Under Windows, format a reliable blank floppy disk using Create MS-DOS Boot Disk mode. Write two files on it: the flashing program (the name of its file depends on the type of BIOS - for example, amdflash.exe) and the file with the new BIOS (both files must be taken from the motherboard manufacturer's website).
Step 3
Restart your computer and press the Del key to enter BIOS. Reset it in one of three ways: 1) by removing the battery supplying the CMOS for a few minutes, 2) using a jumper, 3) in the BIOS settings in the Standard CMOS Setup section, select Load Defaults BIOS.
Step 4
Then disable the BIOS caching features by changing the System BIOS Cacheable item in BIOS Setup and the Video BIOS Cacheable item under Chipset Features Setup. If the drive is disabled, enable it and select the first boot from it in the BIOS Features Setup section. Exit the BIOS, save the settings, and restart the computer without removing the floppy disk from the floppy drive.
Step 5
After logging into DOS, type A:> dir and press Enter. A list of files on the floppy disk appears, and among them are the flashing files (in this case amdflash.exe) and the new BIOS. Type the command A:> awdflash /? and press Enter. Take a close look at the list of keys and their functions for the awdflash program that appears.
Step 6
Type the command: A:> awdflash newbios.bin oldbios.bin / py / sy / cc / cp / cd / e and press Enter. In this command, instead of newbios.bin, write the name of the new BIOS file to be applied. The old BIOS will be saved in the oldbios.bin file. The flashing takes several minutes. After that, after making sure that the oldbios.bin file is written to the floppy disk, reboot the system and, entering the BIOS, set the desired parameters of its operation.
Step 7
If the BIOS does not work after the update, take corrective action. In particularly difficult cases, you should contact the service center. Thus, updating the BIOS is not a difficult task, but a dangerous one. Therefore, you should use it only in special cases and at the same time clearly understand what to do in case of failure.


