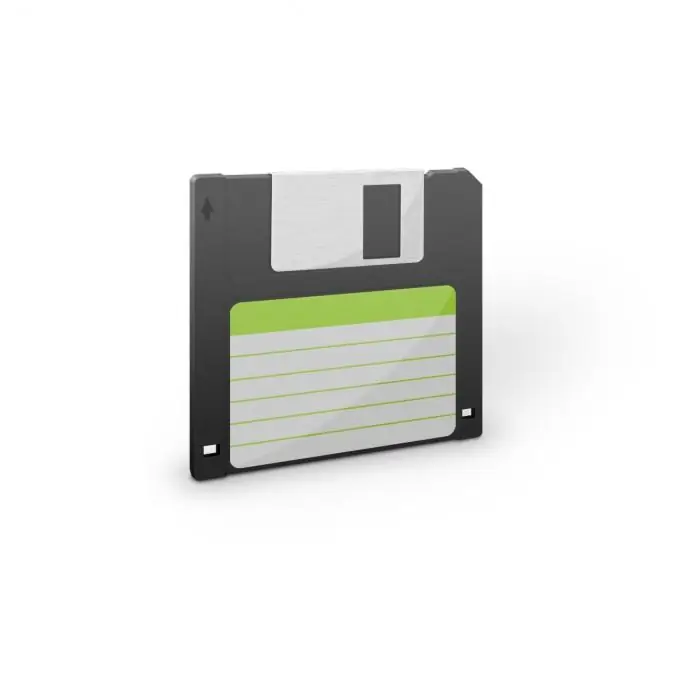
Once the most common storage medium, floppy disks have quickly lost their popularity under the onslaught of flash drives. Often, when there is a need to read data from a floppy disk, it turns out that the user does not remember which side to insert it, or even the disk drive itself is absent.

Necessary
- - floppy drive;
- - floppy cable;
- - screwdriver.
Instructions
Step 1
A 3.5-inch floppy disk is inserted into the drive as follows. Take it in your hand and turn it so that the cover is facing forward and the sticker is on top. If there is no sticker, be guided by the round metal insert: it should be at the bottom. You can also navigate the beveled corner, which should look forward and to the right. Insert the floppy disk into the drive until it clicks. Immediately after this, you should hear the sound of the lid being thrown back. If it does not follow, remove the medium (there is a button on the drive for this), then insert it again. After finishing work with the floppy, pull it out with the same button. When doing so, make sure that the LED on the drive is off. If you can read data from the media, but not write to it, make sure that the write-protect tab on the floppy disk covers the corresponding square hole in its housing.
Step 2
Rotate the 5, 25-inch diskette before inserting it into the drive so that the notch through which the disk is visible faces forward and the sync hole and small square write-protect notch are on the left. Then, latch the drive with the lever. After working with the drive, after waiting for the LED to go out, turn the lever back and remove the floppy disk. There are also very rare 5, 25-inch drives that work in a similar way to 3.5-inch drives. They do not have a lever, but are equipped with a button. 5, 25-inch media are protected from writing by special stickers that cover a square notch. The presence of the sticker activates write protection.
Step 3
If there is no disk drive, install it in the computer when it is turned off. Connect the far end of the cable to the connector on the motherboard labeled Floppy or FDD. The red wire on it should be on the side of the first terminal. On the drive itself, move the jumper, if any, to position A:.
Step 4
If there is only one connector on the opposite end of the cable, everything is simple. Connect it to the wide connector on the 3.5-inch drive with the red wire facing towards the power connector. Then plug in the power connector itself - it's smaller than the connector that supplies power to optical disc drives and hard drives. It has a special key to prevent overturning. If you use force and plug in the power connector upside down, the drive will burn, so be careful.
Step 5
The cord, which has four connectors at the opposite end, can be connected to both 3.5-inch and 5.5-inch drives. The connectors that are designed for comb connection are designed for 5.5-inch drives, and those that fit the double-row male connector are for 3.5-inch drives. In all cases, the red wire on the ribbon is turned towards the power connector on the drive. If you select the connector on the cable that is at the very end, the drive will be defined as A: in DOS and Windows, and as / dev / fd0 in Linux, but if you use the one located in the middle, after twisting, then, respectively, as B: and / dev / fd1.
Step 6
5.5-inch drives are powered by the same large connectors as hard drives and optical drives, as opposed to 3.5-inch drives.


