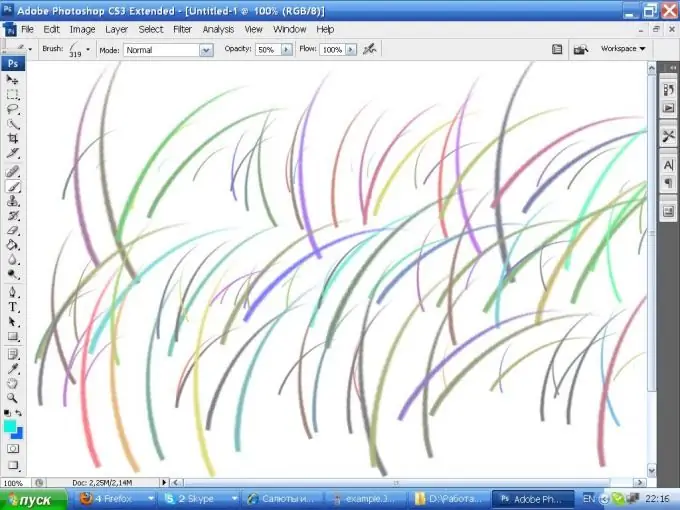
To make brushes in color in Photoshop, there are two possibilities: paint ready-made brushes or create an author's color brush. Depending on the tasks that you face, decide which method suits you best.

Necessary
graphic editor Adobe Photoshop version not lower than CS, brush drawing
Instructions
Step 1
In the toolbar, select the Brush Tool (you can also call it by pressing the Latin letter B on the keyboard). In the settings panel, click on the triangle with the tip down, located next to the name of the Brush tool, to go to a list of all brushes that are in the editor.
Step 2
If you find a brush suitable for the drawing, left-click on it and set the desired size by changing the Master Diameter settings. On the toolbar, set any colors other than black and white for the foreground and background.
Step 3
Select Window from the main menu and Brushes from the pop-up menu. You can immediately press the F5 key - the result will be a call to the brush settings editing menu. Check the Color Dynamis item by double clicking on it. Select the parameter values as shown in the figure.
Step 4
In order to get a two-color brush, set the following parameters: * Foreground / Background Jitter - 100%
* Control - Rotation
* Hue Jitter - 0%
* Saturation Jitter - 0%
* Brightness Jitter - 0%
* Purity - 100%
Step 5
If you don't find the brush you want in the standard set, you can create a custom brush. To do this, take a suitable image and select the part of it that you want to make with a brush. Copy the selected part to the clipboard by selecting Edit and Copy in the main menu, or by pressing the CTRL + C key combination.
Step 6
Open a new file, paste the saved image from the main menu by selecting the Edit and Past items, or using the Ctrl + V keys. From the main menu, choose Edit, then Define Brush Preset. In the dialog box that appears, give the name of your brush and confirm the selection by clicking OK. Open the image you are going to work with, select your brush (it is at the end of the list) and apply the settings to it, as in step 3


