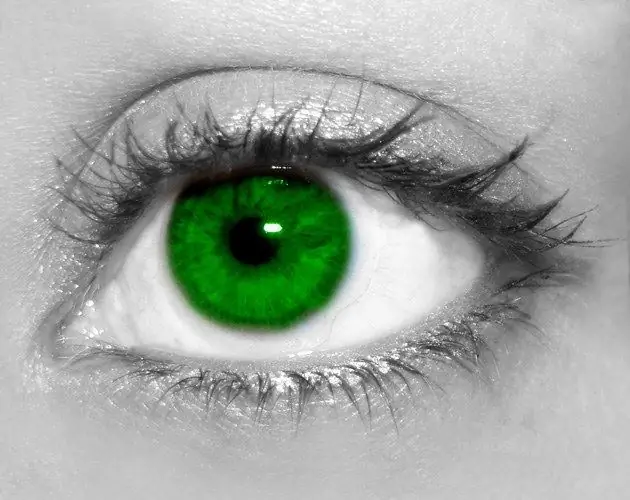
A color detail in a black and white image is a spectacular technique that designers often use. However, this technique is quite within the power of a novice user of an image editing program.

Necessary
- - Photoshop program;
- - black and white photography.
Instructions
Step 1
Open the file with a black and white photo in Explorer, right-click on its icon. In the menu that appears, find the "Open with" option. Select Photoshop from the list of programs in which you can open the image.
Step 2
It may turn out that your black and white image is saved in Grayscale color mode. To be able to work with color, put the image in RGB mode. To do this, use the RGB Color option from the Mode group of the Image menu.
Step 3
Create a layer that will contain the color component of the photo. This can be done using the Layer command from the New group of the Layer menu. You can simply click on the Create a new layer button at the bottom of the layers palette.
Step 4
In the tool palette, click on the Brush Tool. Choose the color in which you are going to paint your eyes. To do this, click on the top of the two colored rectangles in the tool palette and select the desired shade.
Step 5
Paint over the dark part of the eyes with your chosen color. If the photo is large and open in the editor window at twenty percent of its real size, move the slider in the Navigator palette to the right. Use the mouse to move the red rectangle in the same palette to the area of the photo you are working with.
Step 6
Change the blending mode of the color spot layer. To do this, select the desired mode from the Blending Mode drop-down list in the layers palette. You can get good results with Color or Color Burn, but in order to choose the best one, go through all possible blending modes.
Step 7
If necessary, erase some of the color you applied over the pupils. To do this, select the Eraser Tool and delete everything unnecessary with it.
Step 8
If you are not completely satisfied with the color in which you painted the eyes, correct it. This can be done by opening the settings window with the Hue / Saturation command from the Adjustment group of the Image menu. Adjust the hue with the Hue slider. If necessary, change the saturation with the Saturation slider. Adjust the brightness of the superimposed color with the Lightness control.
Step 9
Save the photo with a different name from the original file. To do this, use the Save As command from the File menu.


