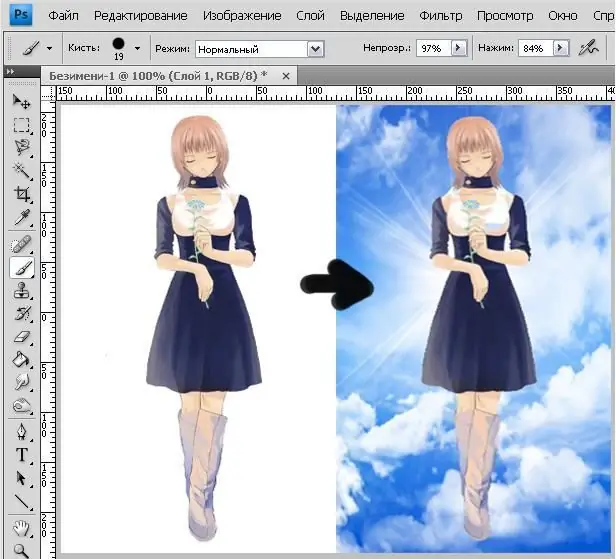
If they used to say that a girl's best friends are diamonds, now Photoshop can rightfully be considered the best friend of a modern girl. He will help to disguise the circles under the eyes, and to pick up excess from the sides. And if you want to see yourself against the background of an ancient castle or a flower meadow, then Photoshop will help you with this. Cutting yourself out of one photo and pasting it onto another is pretty easy.

Necessary
Photoshop cs4
Instructions
Step 1
Choose a photo that you will cut yourself out from.
Step 2
Use the Rectangular Marquee Tool to select the area of the photo you want to work with. Press the English letter "M" on the keyboard and this tool will become active.
Step 3
At the top of the control panel, select "Edit" and then "Copy" or press the key combination Ctrl + C on the keyboard. This will save the area you selected on the clipboard.
Step 4
Now create a new file. In the same control panel, select "File" and then "New" or press the keyboard shortcut Ctrl + N. In the window that appears, change the Background Content to a transparent background and click OK.
Step 5
In the new file that appears, paste the copied area by pressing the key combination Ctrl + V or by selecting the items indicated in the accompanying picture.
Step 6
You will no longer need the original photo - close it.
Step 7
Now on the toolbar on the left, select the Magnetic Lasso tool and use it to select your path. Try to trace yourself as neatly and clearly as possible. Remember, the path must be closed.
Step 8
After you have closed the path, copy it to the clipboard. Select "Edit" again and then "Copy" or press Ctrl + C.
Step 9
Create a new layer. On the right-hand toolbar, click the Create New Layer icon. It is shown in the picture.
Step 10
Paste the saved path on a new layer and make the "Background" layer inactive. To do this, on the toolbar, click on the eye icon (as shown in the picture). After the eye disappears, this layer will become invisible.
Step 11
Create another active layer and fill it with any dark color. This is necessary to identify errors in the contour. Remember, the second layer must be under the first.
Step 12
Use the Eraser tool to correct any visible imperfections. After eliminating them, feel free to glue yourself onto any other background.


