Professional web designers develop website templates, usually in powerful graphics editors such as Adobe Photoshop. The result of the work is a file with an image, which in this form is provided to the customer. In order to use the ready-made design, that is, to lay out a web page, you need to cut the template.

Necessary
raster graphics editor Adobe Photoshop
Instructions
Step 1
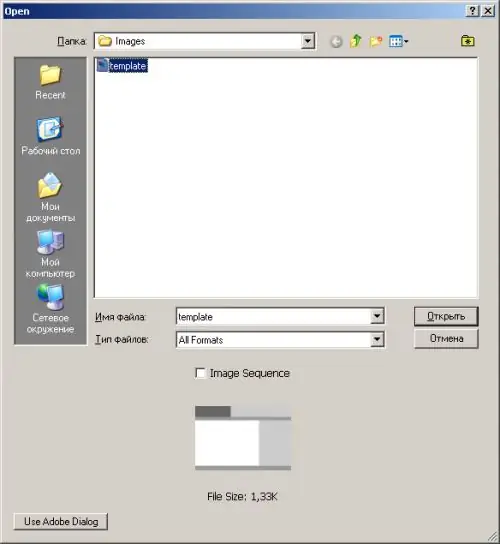
Open the template file in the graphics editor Adobe Photoshop. Select File and Open from the menu, or press the key combination Ctrl + O. In the dialog that appears after that, go to the directory with the file, select it in the list and click the "Open" button.
Step 2
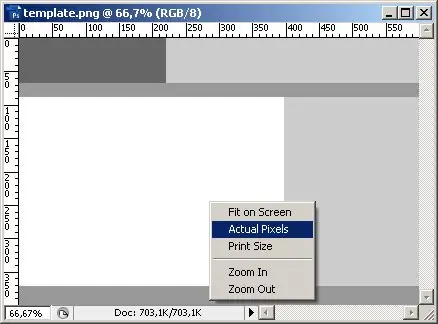
Choose a convenient scale for viewing the template image. Use the Zoom Tool or context menu items. Select a scale that allows you to position the cursor with pixel precision. This is necessary to accurately set the reference lines.
Step 3
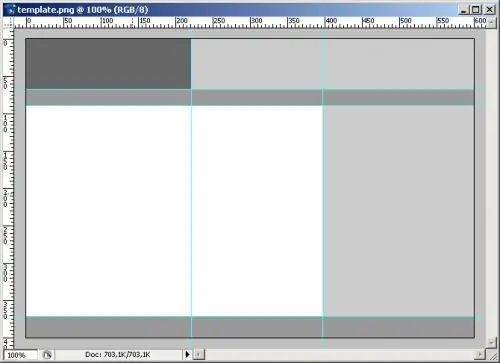
Form a set of reference lines above the template image. Turn on the display of rulers in document windows if it is not already on. To do this, press Ctrl + R or select View and Rulers from the menu.
Step 4
Move the mouse cursor over the top ruler to add a horizontal reference line. Press and hold the left key. Move the mouse cursor down to the image area. Likewise, using the right ruler, you can add horizontal lines.
Step 5
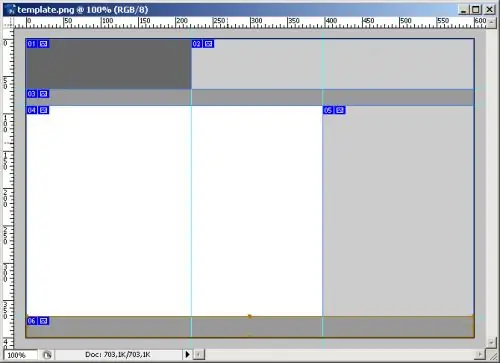
Add the required number of reference lines and position them along the boundaries of the division of the regions of the template. The lines should go through all the places where you want to cut the template. They should constrain all images and logical areas (logo, site header, horizontal and vertical menus, etc.) that will be presented on a web page.
Step 6
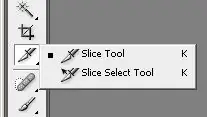
Activate the Slice Tool. Its button is on the vertical toolbar.
Step 7
Create the required number of cutting areas using the Slice Tool. Choose a convenient scale for displaying the template. Use the mouse to set the boundaries of the areas. The guidelines added in the third step will provide precise positioning of the boundaries of the objects you create. Adjust the existing areas if necessary using the Slice Select Tool.
Step 8
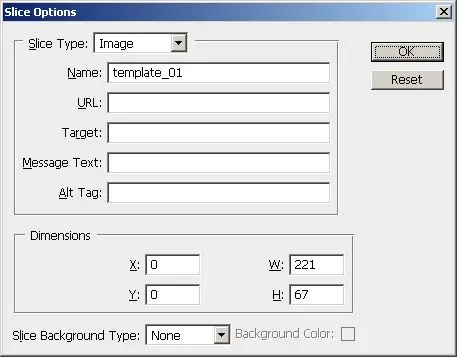
Change the properties of the cutting regions as required. Activate the Slice Select Tool. Right-click on the desired area. In the context menu, select the Edit Slice Options item. In the Slice Options dialog that appears, select the type of area (image, empty area, table), the background fill mode, specify, if necessary, the name, target URL, content of the alt="Image" attribute and other values. Click OK.
Step 9
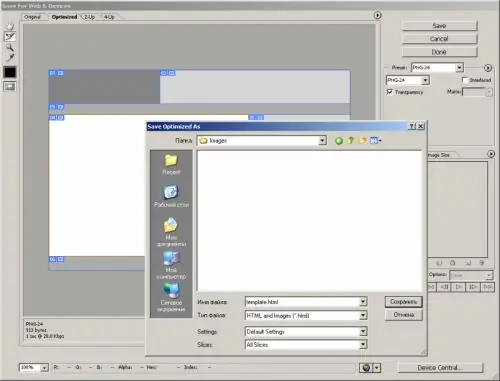
Cut the template. Select File and Save for Web & Devices from the menu, or press Shift + Ctrl + Alt + S. In the Save for Web & Devices dialog specify the format and image compression parameters into which the template will be cut. Click the Save button. The Save Optimized As dialog will be displayed.
Step 10
Select HTML and Images (*.html) in the File type drop-down list, and in the File name field, enter the name of the file into which the template HTML markup will be placed. In the Slices list, select All Slices. Specify the directory for the output and click the "Save" button.
Step 11
An HTML file will be placed in the target directory, which is, in fact, a ready-made web page template. The images subdirectory will contain the set of images into which the original template was cut.


