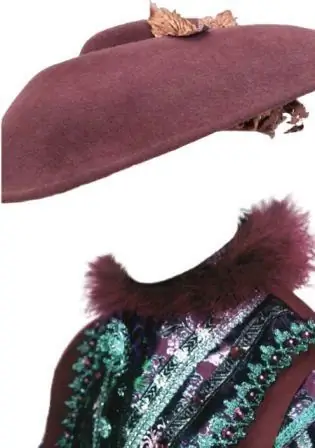
Photo montage opens up thousands of new opportunities for you to work with your photos and photos of friends and acquaintances. You can find hundreds of different photo montage templates on the Internet, both for children and adults, and you can easily learn how to work with them by placing your photos in ready-made templates. So how do you work with a ready-made template?

It is necessary
Adobe photoshop
Instructions
Step 1
Many users are frightened first of all by the fact that when they try to open the downloaded template in psd format, they see nothing but an empty gray field. Most likely, all layers in the template are simply turned off. Press the F7 key or turn on the layers manually, in front of each line in the window with the list of layers put the eye icon with one click.
Step 2
When all the layers are open, and you see a ready-made template with an empty place for the face, you can open the photo with which you will work. Select the photo so that the position of the head and its angle are close to the angle and position of the head on the template. The less you manually correct the position of the face, the more realistic the image will be.
Step 3
Select any selection tool - Lasso Tool or Rectangular Marker, select the face with a small area around it, and then copy to a new layer. Drag the cut face onto the template window.
Step 4
To make the face look proportional to the shape in the photo in the template, open the Free Transform command and, holding Shift to maintain the proportions, reduce it to the desired size. Then, place the face layer among the other layers of the template so that all the layers overlap each other correctly. For example, if a headpiece is used in the template, then its layer should be on top of the new layer with the face so that the headpiece overlaps it. The costume layer, in turn, should also overlap your image.
Step 5
Make sure the face fits into the template and looks authentic. If this did not happen, open the Free Transform command again and pull the elements of the template to each other, or vice versa, move them away from each other to create the illusion of realism.
Step 6
To bring the photo to its final state, remove all unnecessary selection elements around the face, if present. To do this, add a quick mask to the face layer (Add Layer Mask), and then gently paint over all unnecessary areas with a black brush, they will turn out to be hidden.
Step 7
It remains to make the final touches - to do color correction of the face so that it does not differ from the color of the person's skin on the template. Open Levels and manually adjust the color gamut.


