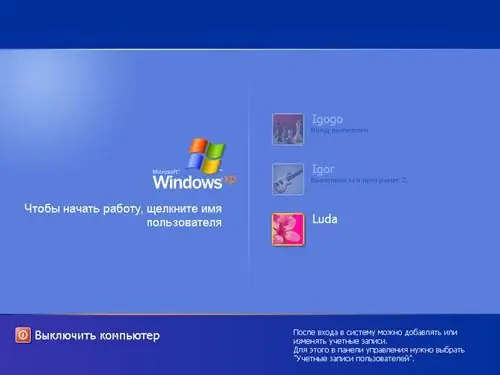
In the Windows XP operating system, there is a certain graphical shell that is present on the system by default. Some users want to personalize their system and create their own Windows Welcome window. To change the welcome screen, you need the ResHack resource compiler.

Instructions
Step 1
Download and install the compiler. Then open Adobe Photoshop to create a background image to replace the default system welcome screen image. You can use any background - draw it by hand or open any picture you like in Photoshop. Resize the image to match the resolution of your monitor. Save the background picture in JPEG format.
Step 2
Run ResHack and save a copy of the logonui.exe file from the main Windows directory just in case. In the open ResHack program, select File -> Open from the menu and import the created copy of the system file. The resource folder tree will open in the left part of the program window.
Step 3
Open the folder called Bitmap to extract the graphics from it. The differently numbered folders you see contain images that correspond to different buttons on the login interface. Folder 100 contains the background image for the welcome screen, folder 102 contains the password entry field, folder 107 contains the power button, and so on. You can open each folder to see which buttons and graphics are located in the welcome screen.
Step 4
Select folder 112 and then select Action -> Save bitmap: 112 from the menu. Save the file in bmp format. Load the saved file in Photoshop and edit it however you like. Repeat the same for any other files in the resource root directory. Replace the original files in the directory with the modified ones by choosing the Replace Bitmap option from the Action menu.
Step 5
To avoid confusing button numbers, save all graphic objects with the number of the folder in which they were stored in the file name. Replace the default background image with your own.
Step 6
Now open the UIFILE folder and in the internal folder "1000" edit the resource "1033". You will see the code that defines the style of the system welcome screen. In the style tags you can change the login color scheme as well as the fonts.
Step 7
Save changes to the file by clicking on the Compile Script button.


