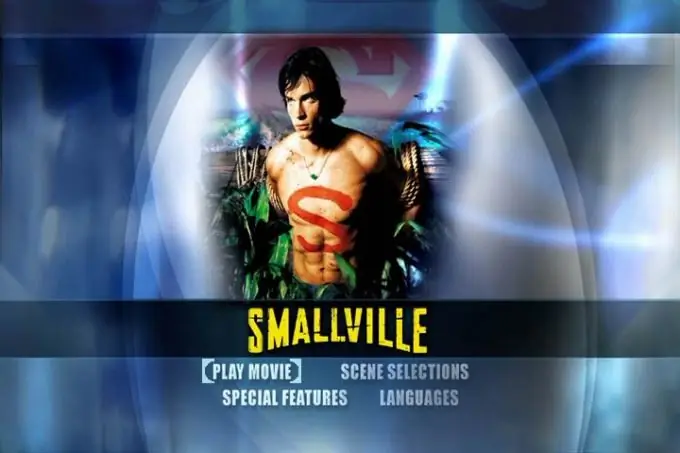
When several video files are recorded on a disc, it is not very convenient to search for them by folders. And this method is no different in beauty. The main menu, which you can easily create yourself, will help to make your disc unique, beautiful and graceful.

Necessary
- - program
- - DVD disc for recording
- - avi files for recording
- - music, pictures for the menu
Instructions
Step 1
Use CyberLink Power2Go to create a menu on disc. Download and install it on your computer. Display the shortcut on your desktop so you don't have to look for it for a long time.
Step 2
Prepare a DVD for recording. Be careful to select the correct media size to accommodate all of the selected files. The disc name and size are indicated on its front side. Open CyberLink Power2Go software. Insert the disc to be burned into the drive. Wait a bit for it to start working.
Step 3
In the "Select a job to burn to disc" window that opens, select "Disc with videos / photos", in the disc type - "Video-DVD". Click OK if the selection suits your requirements.
Step 4
The Power2Go workspace will open in front of you. To add avi files, under the long white Video window, find a small icon with a piece of paper and a + sign. Click on it. Specify the path to the required video file for recording. When you make your selection, click Import. Wait for the video to load. Also add other files as needed.
Step 5
To create a menu for recording added video files, pay attention to the lower part of the working window of the program. It is called the "Menu". Spevra choose the theme of the menu. By default, one is loaded, but by clicking the "Advanced" tab, you can download the themes you like from the official website of the program (https://www.cyberlink.com/index_en_US.html?r=1).
Step 6
Choose a background image for your menu. The program supports all graphic formats. Prepare some good quality background images in advance as this is the basis of your menu. After selecting a picture, click "Open". In the window on the right, you will see a sample of the future menu. If you do not want to put your own image, click on the green buttons next to the example and select the appropriate background.
Step 7
Define the music for the menu. To do this, click on the folder after the "Background Music" column. Supported music file formats:.mp3,.wma,.wav).
Step 8
Title the menu. In the "Menu Title Text" field, enter the desired title (for example, the title of a series). To change the format and position of the title, use the "T" button. Track all changes in the right window.
Step 9
When the menu for the DVD with avi files is complete, click “Burn Disc” on the top taskbar (disc with flames). In the new window, select the recording parameters (speed, drive, specify the name of the disc). Start burning. After the required time has elapsed, the disc will be recorded.


