Wreaths are often used in the design of logos and emblems in the classic style, and in this tutorial I will show you how to draw a wreath in Illustrator.

Necessary
- Adobe Illustrator program
- Proficiency level: Beginner
- Time to complete: 30 minutes
Instructions
Step 1
Create a new document, draw an oval using the Ellipse Tool (L) and fill it with R = 171, G = 187, B = 64.

Step 2
Now you need to make sharp edges at the top and bottom. Select the Convert Anchor Point Tool (Shift + C) and click on the desired anchor points.
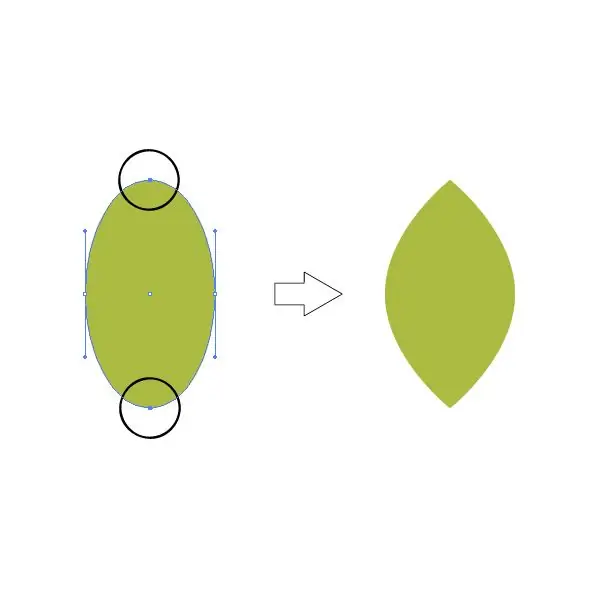
Step 3
Tilt the object to the left with the Free Transform Tool (E).

Step 4
Draw a line using the Line Segment Tool (). Make the stroke color R = 118, G = 127, B = 32. Select Round Cap in the stroke options. Place the leaf on the resulting stem.

Step 5
Draw a circle (R = 158, G = 25, B = 19) using the Ellipse Tool (L). Then draw a thin rectangle (R = 118, G = 127, B = 32) with the Rectangle Tool (M). Place the circle on top of the rectangle and group them (Control-G). It will be a berry.

Step 6
Tilt the berry to the left and place next to the petal on the stem.

Step 7
Select the leaf and berry, hold down the Shift + Alt key combination and drag them above. Duplicate the action by pressing Ctrl + D several times.

Step 8
Place a vertical leaf at the top of the stem.

Step 9
Select all the leaves and berries on the left, right-click and choose Transform> Reflect. In the window that opens, select Vertical and click Copy. We now have a branch.

Step 10
Select all (Ctrl + A). Select Effect> Warp> Arc from the top panel. In the window that opens, set the Bend parameter to 60% and select Vertical. Click OK to accept the changes.
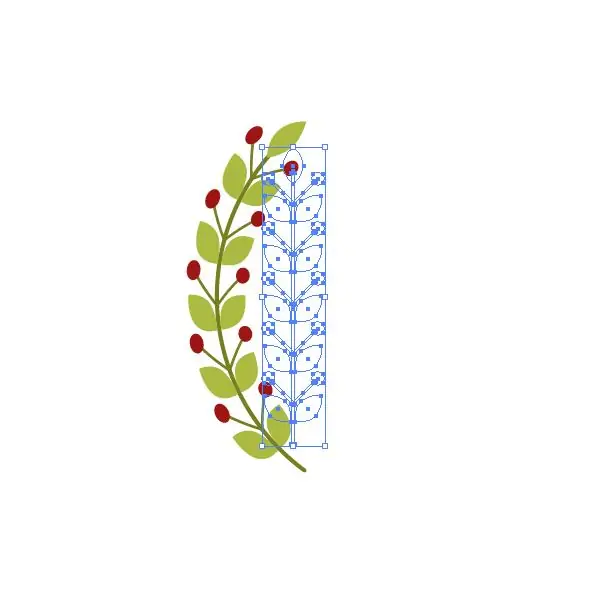
Step 11
Select Object> Expand Appearance from the top panel.
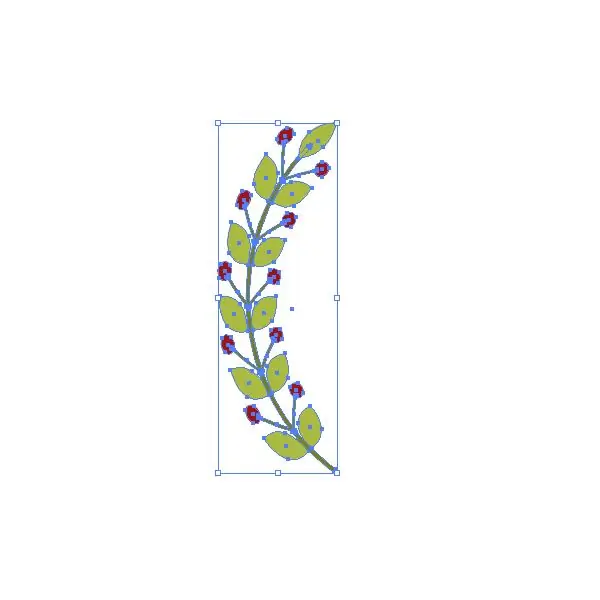
Step 12
Tilt the branch slightly to the left.

Step 13
Select the curved branch, right-click and choose Transform> Reflect. In the window that opens, select Vertical and click Copy. Move the copy to the right.

Step 14
I have placed a yellow circle in the center, but there can be anything in this place.


