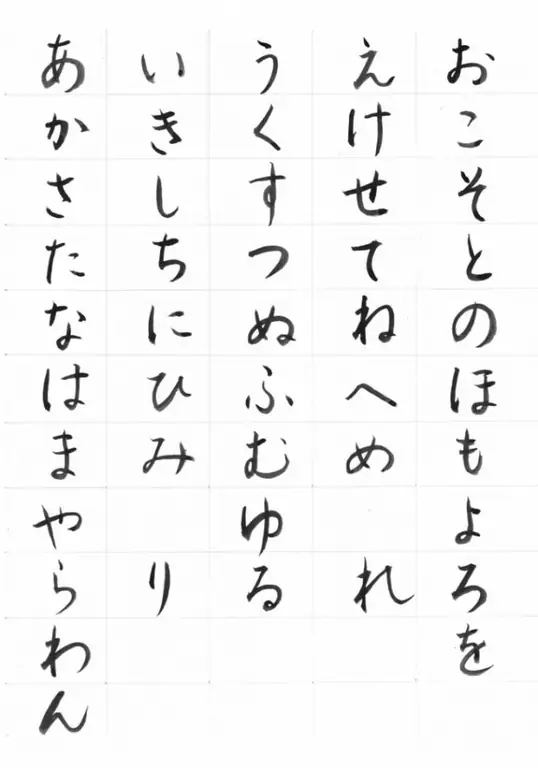
Beginners to learn Japanese and lovers of Japanese culture often face the problem of displaying Japanese texts on websites - unreadable characters appear instead of hieroglyphs. This means that the computer does not have support for hieroglyphic writing and does not have the required fonts.

Instructions
Step 1
The Japanese language is installed using the operating system tools. If you have Windows XP, use the installation disc. Open the Windows Control Panel: Click Start, select Settings, Control Panel. Select the Regional and Language Options component. Open the "Languages" tab and check the box next to "Install hieroglyph support".
Step 2
When prompted for a bootable disc, insert the disc into the drive. The installation procedure for the hieroglyphic letter will begin. When the installation is complete, in the Regional and Language Options window, click Details. A window with installed services for languages will open. Click Add and select an input language: Japanese and Japanese keyboard layouts. The Japanese language is set.
Step 3
If you do not have a system boot disk or the required folder for installing the Japanese letter (its name is i386lang) on it, use the official Microsoft website by downloading the necessary package from there. By clicking "Install support with hieroglyphics", specify the location of the desired folder on your hard drive. Since the versions of the systems may differ from each other, the system may not recognize the necessary files and will require you to insert the boot disk again. In this case, find in the i386lang folder a file called cplexe.ex_ and the xjis.nl_ file located in the i386 folder. The files will automatically download.
Step 4
To install support for writing in hieroglyphs in Windows 7, just go to "Control Panel" - "Regional and Language Options" and go to the "Keyboard Layout" tab. Click "Change keyboard", "Add" and check the box next to "Microsoft IME". Save your changes.
Step 5
After installing Japanese, an additional language appears in the language bar that you can switch to in the traditional way.


