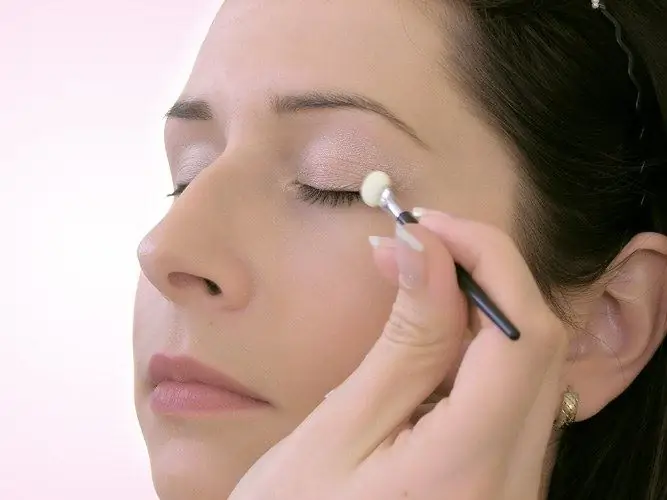
Simulating makeup, like many other tasks performed with the Photoshop editor, can be done in several ways. Colored spots, creating the effect of decorative cosmetics, are superimposed on the photo using ready-made brushes or painted with the standard tools of this graphic editor.

Necessary
- - Photoshop program;
- - file with a set of makeup brushes;
- - Photo.
Instructions
Step 1
Makeup applied using Photoshop tools looks much more natural in high-quality images with a great degree of detail. Before starting work, you should remove noise from the photo and mask skin defects. To do this, load the photo into the program using the Ctrl + O keys and create a copy of it on a new layer with the Ctrl + J combination.
Step 2
To remove noise, apply the Reduce Noise option in the Noise group in the Filter menu. Small imperfections can be removed from the skin with the Healing Brush tool. Use the Shift + Ctrl + N keys to paste into the document a layer on which the results of applying this tool will be located, and activate the Sample all layers option in the Healing Brush settings.
Step 3
To prevent diligently applied makeup from getting lost against the reddened skin, adjust its color with an adjustment layer created by the Selective Color option in the New Adjustment Layer group in the Layer menu. By default, the filter window opens to adjust for red colors. Decrease the amount of black in this color range, vj; yj, by moving the Black slider to the left.
Step 4
You can apply shadows and tint the lashes in the picture with the help of a set of ready-made makeup brushes. Such sets are found on the Internet resources dedicated to Photoshop and graphic design. After downloading the file with the abr extension, turn on the Brush tool and click on the button in the upper right corner of the brushes palette. Select the Load Brushes option from the menu that opens to load new brushes into the program.
Step 5
Insert a transparent layer into the file and select a suitable swatch from the set you just loaded in the brushes palette. Make the base color the hue with which you are going to simulate the shadows. Click on a new layer with a brush and create a print. Using the options of the Transform group ("Transformation") of the Edit menu ("Editing"), adjust the trail left by the brush to the dimensions of the photo. You can move the footprint using the Move Tool.
Step 6
Shadow brushes usually have options for the left and right eyes. You can just copy the created print and, flip it horizontally with the Flip Horizontal option of the Transform group, move it to the other eye.
Step 7
Blush is applied in a similar way. Change the blending mode of the shadows to Linear Burn ("Linear dimmer") and reduce the opacity of the layer until you get a realistic result. For blush use Soft Light mode. A layer with a color that simulates lipstick can be applied in the same mode or in Multiply ("Multiplication"). In the latter case, reduce its opacity to twenty or thirty percent.
Step 8
If you don't find any suitable brushes, select a regular round brush and paint shadows with it on a new layer. The excess areas can be removed with the Eraser tool.
Step 9
To color the eyelashes, select the eyelash brush, create a black print of it on a new layer and apply it to the photo in Multiply mode. You may need to warp it with the Warp option in the Transform group to fit the brushprint to the photo.
Step 10
Eyelashes can be painted using the Freeform Pen tool. Draw with this tool working in Paths mode ("Paths"), a series of curved lines that match the shape of the eyelashes in the picture. The role of mascara will be played by a stroke, for which you will need to create another layer.
Step 11
Returning to the Brush tool, select a brush that is round and half the width of the stroke you are creating. Typically, a 2 or 3 pixel brush is sufficient. Going to the Paths palette, click on the lash contour and select the Stroke Path option. Find the Brush tool in the Tool list. To make the ends of the painted eyelashes thinner than the middle, turn on the Simulate Pressure option.
Step 12
Using the Save As option on the File menu, save the snapshot. If you are going to change the color of your lipstick or eyeshadow, choose the psd format for saving.


