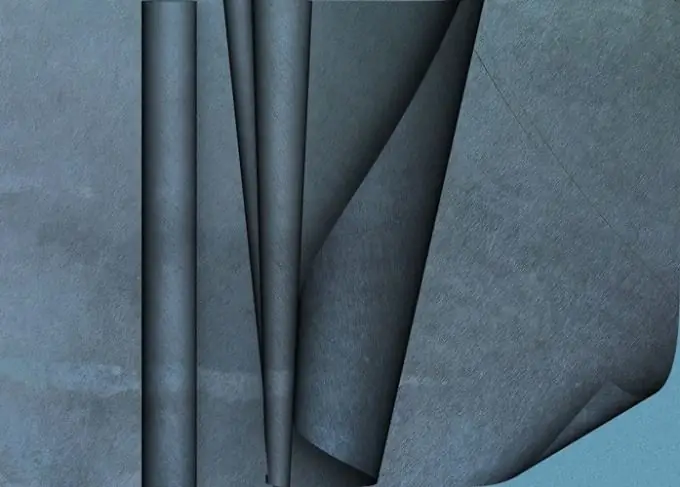
Simulating curled corners is one way to add volume to an initially flat image. To create details of graphic design in the grunge style, it is often used a metal texture that is curved at different angles. You can transform the image in this way using the standard tools of the Photoshop program.

Necessary
- - Photoshop program;
- - a file with a metal texture.
Instructions
Step 1
Open the texture file in Photoshop. For work, you can use a clear photograph of a metal surface. To sharpen the details of such an image, duplicate the layer with the Dublicate Layer option from the Layer menu and apply the High Pass filter from the Other group of the Filter menu to the copy. Set the Radius to about one pixel.
Step 2
Change the blending mode of the resulting gray layer from Normal to Overlay. To do this, select the Overlay item from the Blending Mode list in the layers palette. Merge the layers with the Merge Down option from the Layer group.
Step 3
In order to apply transformations to the only layer that remains in the document, you will have to unlock it with the option Layer from background from the context menu.
Step 4
Select the part of the image that you are going to fold together with the part that will be covered with the folded corner. This can be done with the Rectangular Marquee or Polygonal Lasso tool.
Step 5
Use the Layer option from the New group of the Layer menu to create another layer. Fill the selection with a gradient on it. This can be done with the Gradient Tool. In the gradient palette, select a gradient from dark to light, and in the tool settings panel, click on the Linear Gradient button. Fill the layer so that the corner you will fold is lighter.
Step 6
Change the blending mode of the layer from Normal to Multiply and merge the gradient layer with the metallic one.
Step 7
Bend the corner with the Warp option from the Transform group of the Edit menu by dragging the mesh nodes with the mouse. Apply the transformation by pressing the Enter key. The corner is almost ready, it remains to add a shadow to it.
Step 8
Use the Polygonal Lasso Tool to select the folded corner and save the selection to a separate channel with the Save Selection option from the Select menu. Create another layer and fill the selection with dark color. Cancel the selection mode with Ctrl + D and blur the contents of the layer with the Gaussian Blur filter, which can be found in the Blur group of the Filter menu. Set the Blur Radius to around twenty pixels.
Step 9
Change the blending mode of the blurred layer from Normal to Multiply and move it with the Move Tool so that its edge looks like a shadow cast by a folded corner.
Step 10
Remove the excess part of the shadow. To do this, load the saved selection using the Load Selection option from the Select menu. In the dialog box that appears, select from the Channel list the channel to which you have saved the selection. It is named Alpha1 by default. Erase the part of the shadow that covers the corner itself with the Delete key.
Step 11
Drop a shadow from the metal layer itself. To do this, open the context menu by clicking on the layer and select the Blending Options option. Click on the Drop shadow tab and adjust the shadow parameters so that its angle coincides with the angle at which the shadow falls from the folded edge of the metal sheet.
Step 12
Save the result in.jpg"


