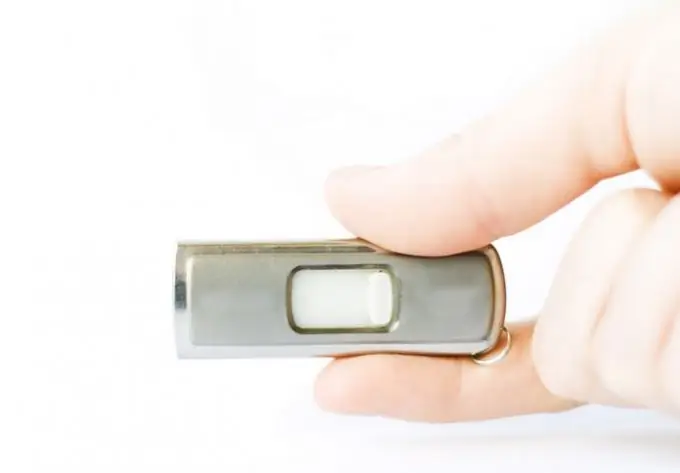
Installing the Windows XP operating system on a laptop's flash drive implies a complete disconnection of all physical disks, as well as deactivation of integrated devices through the BIOS setup. During installation, only CD / DVD drive and flash media should work. Preferences for equipment are minimal: flash media of any nature (card reader or any flash drive with a volume of 2 Gb or more).

Necessary
Distribution of the operating system Windows XP, flash-carrier
Instructions
Step 1
The main task when installing the system on a USB flash drive is to make the carrier see the motherboard on which the installation will take place. To do this, you need to adjust the boot list (Boot) in the BIOS. There are flash drives up to 1 Gb (USB-FDD, USB-ZIP) and flash drives over 1 Gb (USB-HDD). With the help of Partition Magic or the like, we format the flash drive, use the FAT32 file system.
Step 2
If you use a USB flash drive less than 2 Gb when installing the system, use the nLite program to trim the distribution kit (a standard Windows XP installation requires 1.2 Gb of free space). After inserting the system installation disc, restart your computer. The installation of the operating system will begin, select the option "without changing the file system"
Step 3
After rebooting the system installer, the system will start. The system will give an error, this is normal. Turn off your computer, reconnect your hard drive, turn on your laptop. Do not pull out the USB flash drive. Download the FlashBootXPver1.rar archive from the Internet, unpack it to a temporary folder.
Step 4
Click the Start menu, select Run, type regedit. Highlight the HKEY_LOCAL_MACHINE registry branch, click the File menu, then Load Hive. Open the following folder on your WindowsSystem32Config flash drive, open the System file and enter the number 123. Right-clicking on this section, select "Permissions". Select "Administrators", specify the Full Control permission.
Step 5
Next, select the "Advanced" tab, select the "Administrators" item, indicate the replacement of permissions for all additional objects. Browse to the files from the FlashBootXPver1. Right-click on the USBBOOT. REG file, select Merge.
Step 6
Returning to the Registry Editor, you need to select section 123. Click the File menu, then select Unload Hive. Copy the files usb.inf, usbport.inf, usbstor.inf to the folder
WindowsInf on your bootable USB stick.
Step 7
Turn off your computer, disconnect the hard drive, boot from flash media. The installation of the operating system can take over two hours.


