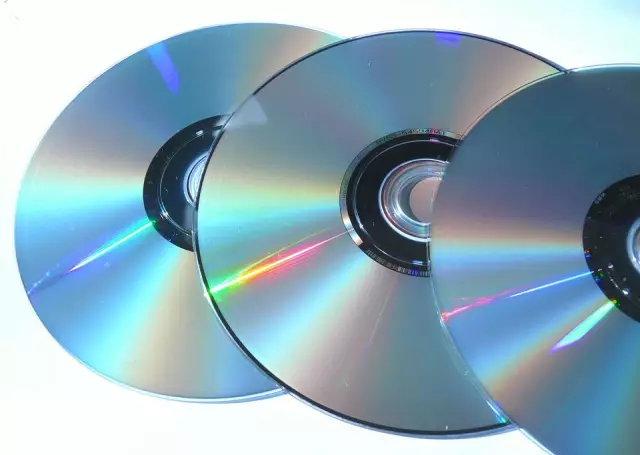
Nowadays, unlimited Internet has become generally available, as a result of which we download more and more music and films from free services. Gradually, the hard disk space of the computer fills up. However, you don't want to delete important information. In this case, files that take up a lot of space are best saved on CDs or DVDs. Nero Start Smart (as well as other versions) is a good software available for burning movies and other information to disc.
Necessary
- - writing CD-Rom or DVD-Rom;
- - the Nero program.
Instructions
Step 1
Insert a blank disc into the drive. It is better to use DVD discs for recording movies.
If Nero is installed on your computer, it will start by itself, recognizing a blank disc.
Step 2
The Nero program menu prompts you to select a task and an action. Hover the cursor over the "star" (tab "Favorites") and select the disc format that suits us, depending on which disc is inserted into the drive - CD or DVD. Select the function "Create DVD with data", click on it with the left mouse button.
Step 3
Before us opens the "Content of the disk" window, so far it is empty. On the right in this window we see the "Add" button with a green cross. Click on it, and the "Select files and folders" window opens in front of us. By default, this function is suitable for recording any data, not limited to movies. We indicate the path to the folder we need: it is located on the desktop, in the "My Documents" folder, any hard drive or an inserted USB device. After selecting the folder, press the "Add" button highlighted in the same window. You can select multiple folders as long as the DVD capacity allows you to save them. Once you have selected the files you want, click the Finished command.
Step 4
The additional window has disappeared, and before us is the "Contents of the disc" again. At the bottom of this window, we see the DVD capacity line: a scale in megabytes and a blue bar showing how much space the files we have selected are taking up. If the blue bar does not go beyond the yellow border, then there is enough disk space.
Step 5
Click the Next button in the lower right corner. The program automatically determines the optimal recording speed (kb / s). We set the command "Record", the button in the lower right corner of the window.
Step 6
The recording has started. Its duration depends on the amount of information that you store on the disk. After the required time has elapsed, the “Burning Successfully Completed” window will appear in front of you, and the CD-Rom will open with the already burned disc.
Step 7
Click "exit" and close the Nero program by clicking on the cross in the upper right corner.


