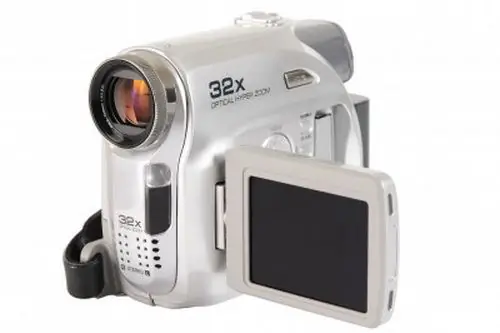
With the advent of personal computers in the life of a videographer, as well as those involved in editing video recordings, the procedure for processing any image that the camera captures has become much easier. To process video on a computer, it is enough to digitize the video, i.e. copy it to your hard drive in digital format.

Necessary
VirtualDub software, computer, camcorder
Instructions
Step 1
The camera is connected to the computer by means of connecting cables, which, as a rule, come with the purchased video camera. The cable is divided into 2 lines: audio and video. The “Audio” line must be connected to the Line-In connector of your sound card (stand-alone or integrated), and the “Video” line should be connected to the input signal connector of your video card. Before digitizing the video signal, you must turn off any programs that will not participate in this process. These programs include any audio and video players, file managers, antiviruses and other utilities.
Step 2
The next step in setting up the connection of the camcorder to the computer will be to set all the audio signal settings to their maximum values. This can be done through the audio settings applet: click the "Start" menu, select the "Control Panel" item, in the window that opens, double-click the "Sounds and Audio Devices" icon.
Step 3
Start the VirtualDub program. In the main window of the program, click on the top File menu, then select the Capture AVI item. Press F9 to edit capture settings. In the window that opens, you must activate the Capture audio item. Below you should change the Frame rate parameter to 25.00 units.
Step 4
Now let's set up the sound that we will receive from the video camera (the format of the saved file). By default, the program is set to PCM format - good sound quality. This format should not be changed, but the bit rate can be increased, 128 or 192 is enough. The higher the bit rate, the larger the size of the created file.
Step 5
It is better to configure the video when the video is playing back on the camera: click the top Video menu, then select Format. In the window that opens, select one of the presented formats. We can say right away that the UYVY format is the most popular, therefore it is preferred for most of the well-known video codecs.
Step 6
Now click the Video menu and select Source. On the Capture Source tab, you can select a codec or capture device. It is also possible to select the type of camera connection: if the connecting cable is with "tulips", select the Video Composite type. In the Device Settings tab, you can completely adjust parameters such as brightness, saturation, hue, etc.
Step 7
All settings were made and saved automatically. To start capturing, press the F6 key on your keyboard, then the Play button on your camcorder. When you are finished capturing video, press the Esc key on your keyboard and the Stop or Pause key on your camera.


