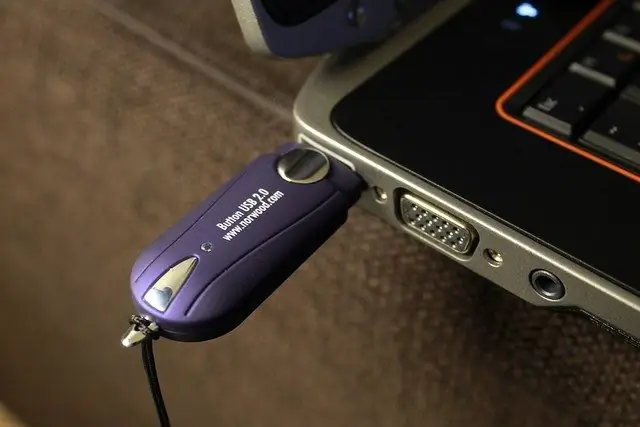
Thanks to the BIOS, the basic input-output system, the computer starts and the operating system can work with its hardware. It is in the BIOS that many system parameters are initially set, including the ability to connect USB drives.

Instructions
Step 1
Usually, USB device support is enabled by default in the BIOS. But in the event that it turned out to be disabled for some reason, you must activate it. To do this, at the start of the computer, enter the BIOS, the entrance is most often done by pressing the Del key. Since computer manufacturers in this case do not adhere to a single standard, the BIOS can be entered by pressing the Esc, F1, F2, F3, F10 keys or by pressing Ctrl + alt="Image" + Esc.
Step 2
Once in BIOS, find the Integrated Periphirals section. In it, find the line USB Controller and switch its state to Enabled. Save the changes by pressing F10, or by exiting the main window by pressing the Esc key and selecting the Save & Exit Setup item. In the window that appears, you will be asked to confirm the changes, to do this, enter Y and press Enter.
Step 3
Much more often, the user has a need not to connect a USB flash drive as such, but to boot a computer from it. To do this, on many computers there is an option to select the boot menu, usually it is called when the computer starts by pressing one of the keys: F8, F9, F10, F11, F12. The specific key used depends on the motherboard.
Step 4
Select the boot device you need from the menu that opens, in this case USB. The computer will boot from a USB flash drive, but provided that it has the necessary boot files.
Step 5
If you did not find the boot menu, you can select a flash drive as a boot device directly in the BIOS. To do this, enter the BIOS and find the tab with the lines First boot and Second boot - that is, the primary boot device and the secondary. The fields next to these lines indicate the current settings. Change them as needed - for example, install a USB stick as the primary boot device and a hard drive as the secondary one. Save the changes as described above.
Step 6
Remember that if you install the operating system from a USB flash drive or CD and select the boot device in the BIOS, and not in the boot menu, then after the first automatic restart of Windows, you must enter the BIOS again and return to boot from the hard disk. If this is not done, the autoload from the USB flash drive or CD will work again, and Windows will start the first stage of the installation procedure again.


