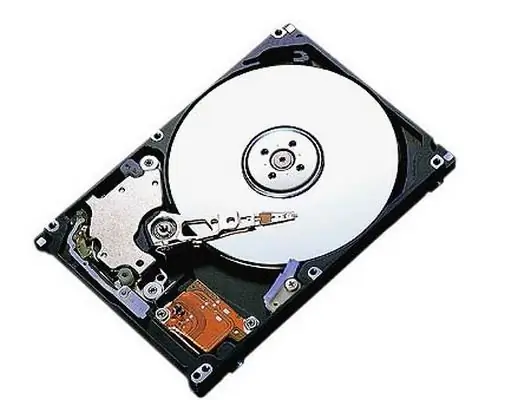
When replacing a hard disk with a new one, it happens that the system cannot detect it. The hard drive is connected to the computer, but it is not in the list of available hardware. Sometimes, for the correct display of connected devices, you need to change some settings in the BIOS. With the correct BIOS configuration, all hard drives will be displayed automatically.

It is necessary
A computer running an operating system
Instructions
Step 1
Turn on the computer, and immediately after turning it on, without waiting for the operating system to start loading, press the "DEL" key. You will find yourself in the BIOS menu. Go to the "MAIN" tab and press "Enter". A menu will appear showing the optical drives and hard drives connected to the computer. Find the required hard drive in the hardware list. If it is not there, select the number of the "SATA" connector to which it was connected and click "AVTO". The system will now search for equipment connected to this jack. If the hard disk was detected by the system, click on the "save end exit" command. The computer will restart and the hard drive will be available in My Computer.
Step 2
If the system cannot detect the hard drive, the SATA interface controller is most likely disabled. Find the line "SATA configuration" and select "enable" in the "controller" tab. Then do the operation described in the paragraph above.
Step 3
If you just accidentally turned off the hard drive in the BIOS, then turning it back on is the easiest way to reset the settings. Enter BIOS and select the line (Load Default). The computer will restart and the hard drive will be available again.
Step 4
After displaying the hard disk in the BIOS, you will need to update the data about the connected devices in the operating system. Turn on your computer and wait for Windows to load. Click on “My Computer” with the right mouse button. Select the "Properties" command. Then go to "Device Manager". Click on the line that displays the names of your system. This is the name of the computer that was registered during the installation of Windows. Simply put, this is the topmost line, right-click on it and select Update Hardware Configuration. The system will scan the connected devices and the hard disk will be available for use.


