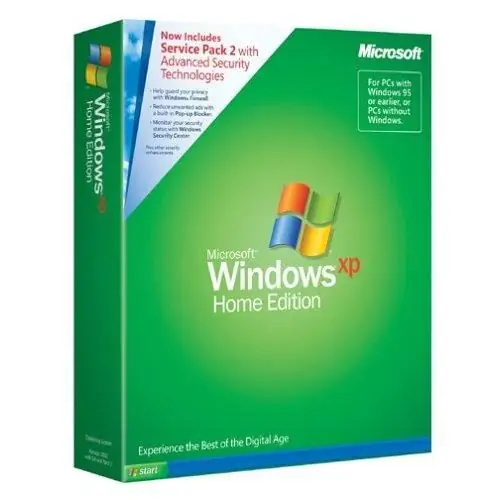
Installing Windows is a daunting task for many. Many people think that it is easier to call an "advanced" acquaintance than to do it yourself. Either way, it's hard to avoid reinstalling Windows. After all, over time, the system "clogs up", which leads to a decrease in productivity. Or you may come across a virus, which can be completely removed only in this way. Therefore, if there is no place to wait for help, you should try to figure out how to install Windows yourself.

It is necessary
- 1. Installation disk with Windows XP operating system.
- 2. Computer.
- 3. Disks with drivers for a video card, sound card, network card, printer, etc.
Instructions
Step 1
Sometimes, just insert the Windows disc into the DVD-ROM, restart the computer and the installation process will begin. Otherwise, if the disk with the operating system is not startup, you should set the necessary parameters of a small program called BIOS. To start it, at the beginning of the computer boot (before Windows starts) press the "F2" or "Delete" key. Which one is always written at the bottom of the screen. In the menu that appears, go to the "Boot" section. Select "Boot device priority" and press the "Enter" key. Now it remains to make the "1st Boot Device" was "CDROM, and the" 2nd Boot Device "-" Hard Disc. "When exiting the BIOS, select" Exit & Save ".
Step 2
After restarting the computer, the Windows XP setup screen should appear. To start it press "Enter". Then the license agreement will appear, press "F8" to accept it.
Step 3
After that, a screen will appear where you can select the hard disk partition on which you want to install Windows XP. This partition should have at least 3-4 gigabytes of free space. Having decided on the choice, press "Enter".
Step 4
Then a window will appear where you will be asked to format the partition you have selected (that is, erase all data from it) or leave the file system unchanged. If you choose the first option, it is better to format in the "NTFS" system. After completing this step, it will begin copying the Windows XP files to your hard drive. There will be a scheduled reboot in the process, do nothing at this point.
Step 5
After copying is complete, the Windows XP preset window will appear. Select the keyboard layout, the default is Russian. In the next window, enter "name" and "organization name", they can be any. This is followed by entering the serial number. If you bought a disc, the code will be indicated on the package (or on the case of the laptop / system unit). All that remains is to choose a computer name, set a password (if necessary) and select clock settings. After that, the installation will begin directly.
Step 6
After installation, you will be prompted to configure the Internet and enable automatic updates for Windows XP. If you would like to receive the latest news from Microsoft, please complete the optional registration process. The final step is to choose a name for your account.


