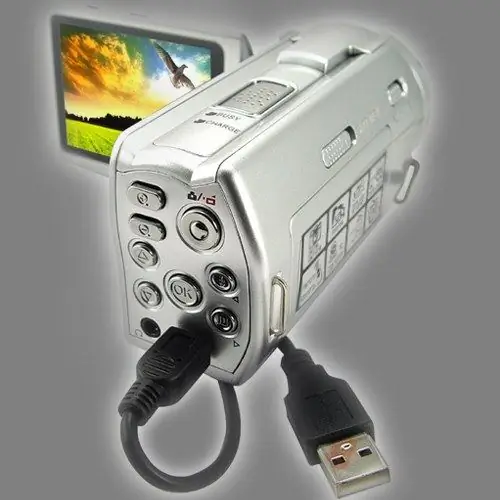
Sooner or later, material recorded with a digital camera will need to be copied to a computer: for viewing or editing. Different connection interfaces will be used depending on the type of camera.

Instructions
Step 1
To connect a digital camera to a computer, you need a cable cord and a corresponding connector in the computer's system unit. Typically a usb cord is used. Connect one end to your digital camera and the other to your computer's USB port. Then turn on the camera. Some models offer a choice of several options for connecting to a computer - they will be displayed on the screen of the device. Choose from the offered the one that suits you best. After that, the system will detect the connection of a new device and automatically install the necessary drivers.
Step 2
In some cases, the drivers required for the digital camera to function properly are not automatically installed. Insert the disc supplied with the camera into the computer drive, wait for it to load, and then install the necessary drivers.
Step 3
Also, the driver can be downloaded from the manufacturer's official website. Open the website, find the corresponding camera model in the directory and download the installation file with the drivers. After downloading, double click on it and proceed with the installation.
Step 4
Digital camcorders of miniDV and HDV format, which use a cassette as a storage medium, are connected to a computer using the IEEE1394 interface. Other names are i. Link and FireWire. To connect such a camera, you will need an appropriate wire and an IEEE1394 board installed in the computer's system unit. Connect one end of the wire to a digital video camera, and the other end to the IEEE1394 connector in the system unit.
Step 5
An IEEE1394 connection is required to transfer video from the camera to a computer. In addition, you will need a special video capture program, for example, the standard Windows Movie Maker application. To transfer photos taken with such a camera, a usb connection is required.


