Illustrations and images for websites, forums, various presentations and e-books often need a transparent background. Adding a transparent background to a graphic is not that difficult if you have Adobe Photoshop at hand.

It is necessary
Adobe Photoshop program
Instructions
Step 1
Before making the image transparent, prepare it for the background. It should be adjusted for brightness, contrast and other parameters.
Open an image and set it to a small size (for example, 600x800) at 72 dpi. This will reduce the weight of the illustration without unnecessary loss of quality. Also, the resolution can be 300 dpi if small details are important in the drawing.
Now you can start working with color correction. Open the menu Hue / Saturation and Brightness / Contrast and adjust the parameters so that the picture is bright and contrasting. You can also use the Auto Contrast and Auto Levels items.
Step 2
The picture should have a uniform background - white is best, and if the background is varied - select any tool to select the object of the image from the background and cut it out.
To save an image with a solid background as transparent, click Save for web on the File menu and check the box next to the word transparency. Choose PNG-8 format. Below you will see boxes in which you can specify which colors should be made transparent in the final version of the picture. Mark these colors in the diagram, and then click the transparency icon at the bottom of the Color Table window.
Step 3
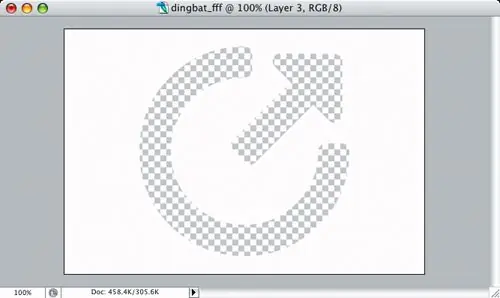
The background of the picture will be replaced with two-color cells - you have made it transparent. The drawing can now be saved.
Step 4
Open the saved illustration and, enlarging it, check if there are any imperfections in the image - extra dots and lines in the background, and the like. If there are drawbacks, open the picture in Photoshop and use the eraser to erase the excess, bringing the illustration to the desired result.


